
Sometimes, keeping your laser cool will cost you more than the laser itself. For the uninitiated, the K40 is a laser cutter that can be purchased for less than $400US. That is a really good value for a proper 30w C02 cutting laser. At that price, you’ll get a fully enclosed(though still dangerous) laser cutter, a small pump, and about 20 feet of ductwork to direct the fumes outside. The end user is expected to provide their own bucket to pump water through the laser tube to keep it cool.
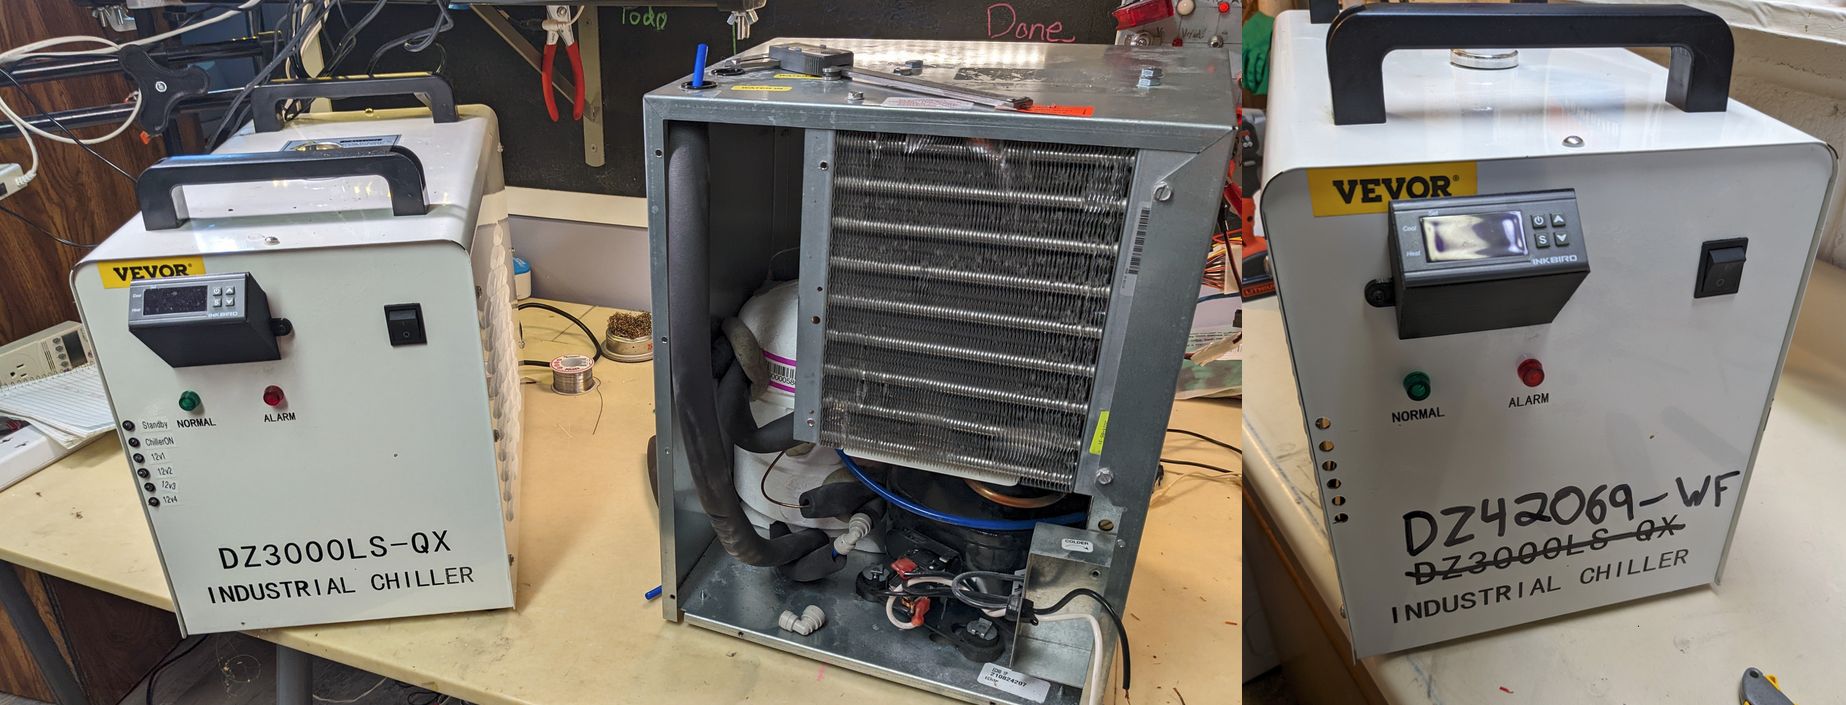
Some other users will receive a higher priced laser that comes with an “Industrial Chiller” that consists of a ~2.5 gallon reservoir, a fairly decent pump, and a small radiator to dissipate heat, all in a convenient package. They sell under a bunch of different names and model numbers, usually containing the number 3000. The community calls the “CW3000”, this example is a “DZ3000LS” These things are basically a glorified version of the bucket and pump that ship with the K40.
I had initially considered these to be a scam but seeing as how you can get them used for around $100USD or less, they’re a solid upgrade to the bucket, assuming you want to run your laser in short bursts when the ambient temperature is at or below 15c(60f).
I, of course, want my laser to be usable year round, which brings you to the point of this post.
The CW3000 Sucks
There, I said it. C02 Laser tubes will perform the most consistently and last the longest when chilled to between 18-20C. Some people using buckets will add frozen water bottles to keep the water cool but that’s hardly a convenient and exact solution. The CW3000 and clones don’t even give you that option. The best you can hope for is to run the laser on cold days but even then, the tube is dumping several hundred watts into the water so your cycles will be short.
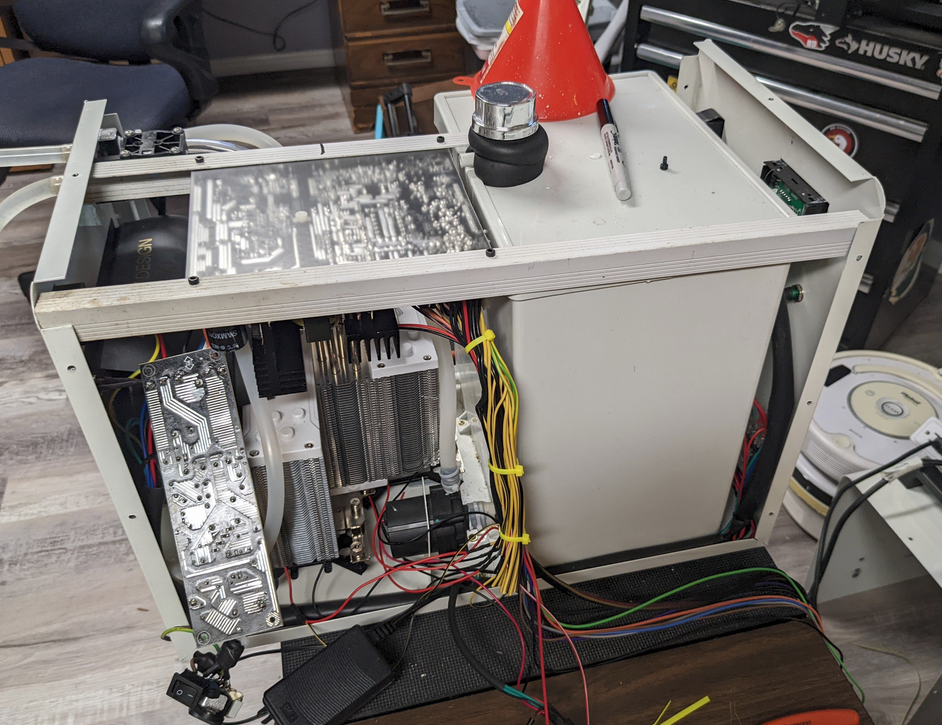
The information in this post is the result of months of hard work and money spent. I experimented with several ways to chill my k40 before finally reaching a usable configuration, starting with the stock CX3000, upgrading it with peltier cells, and finally putting a compressor based water fountain chiller into the chassis. Here are the results:
| CW3000 | Peltier | Water Fountain | |
| Cooling Type | None | TEC Coolers | Compressor |
| Power Draw | 30W | 375W | 208W |
| Cooling Power | N/A | 48W | 127W |
| Cooling Efficiency | N/A | 14% | 72% |
| Added Cost | $130 | $229 |
Adding TEC Coolers to the Chiller
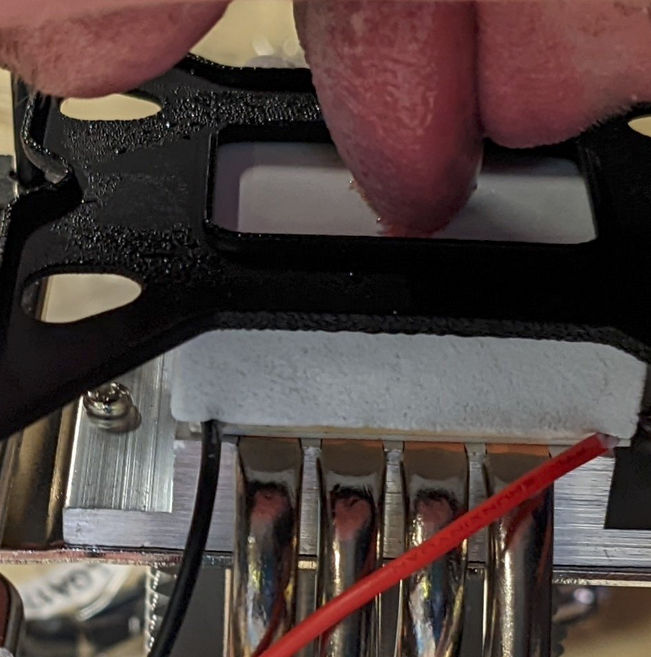
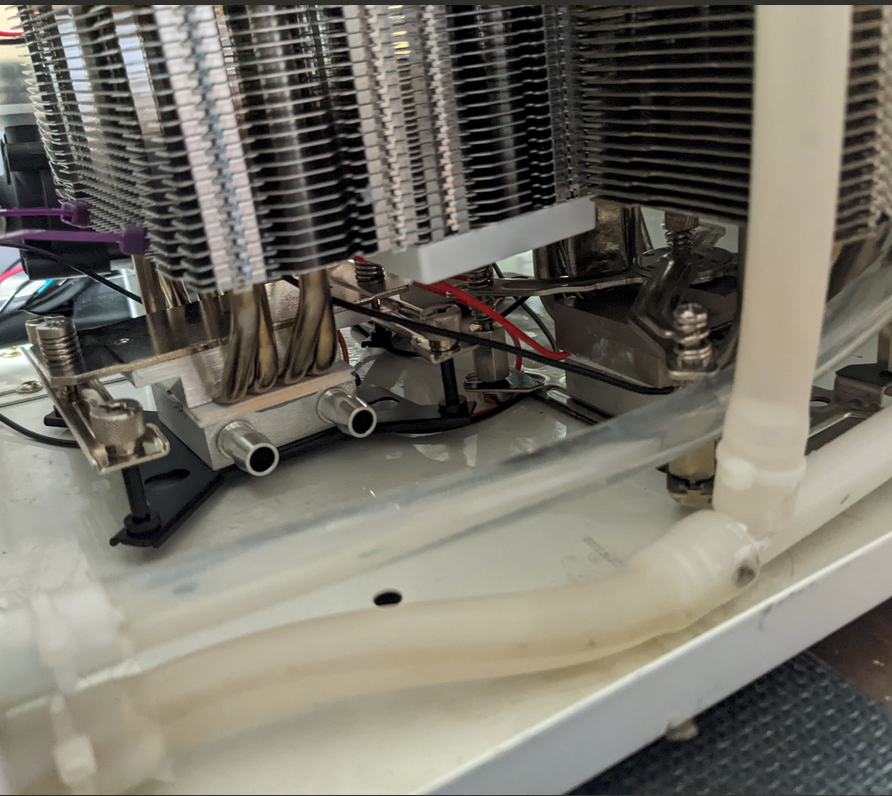
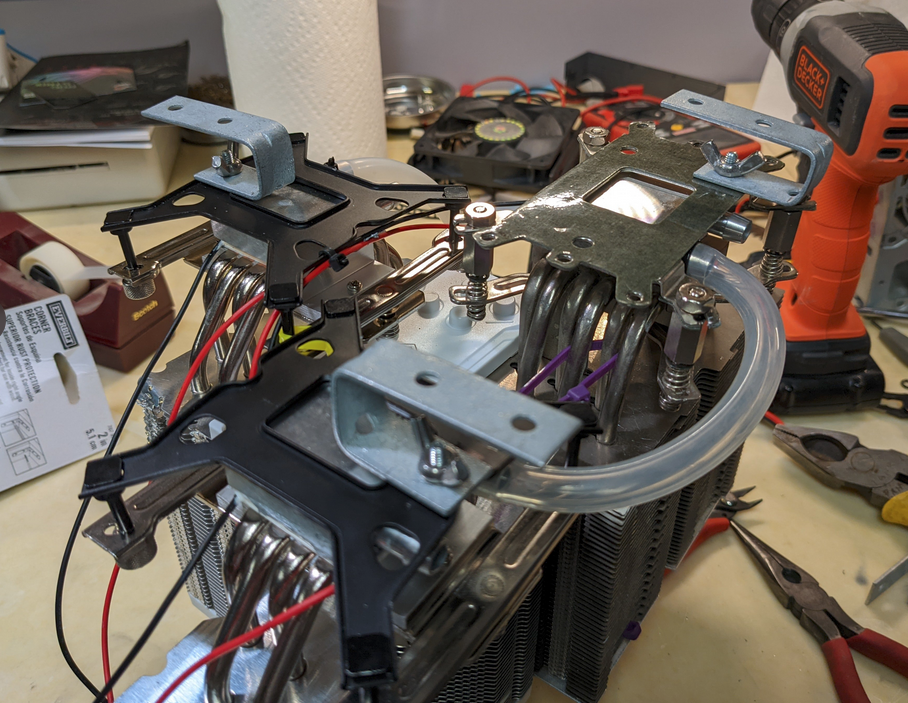
My first attempt at upgrading the chiller involved TEC coolers. I built several sandwiches involving a CPU heatsink on the hot side of the TEC cooler and a CPU water block on the other side.
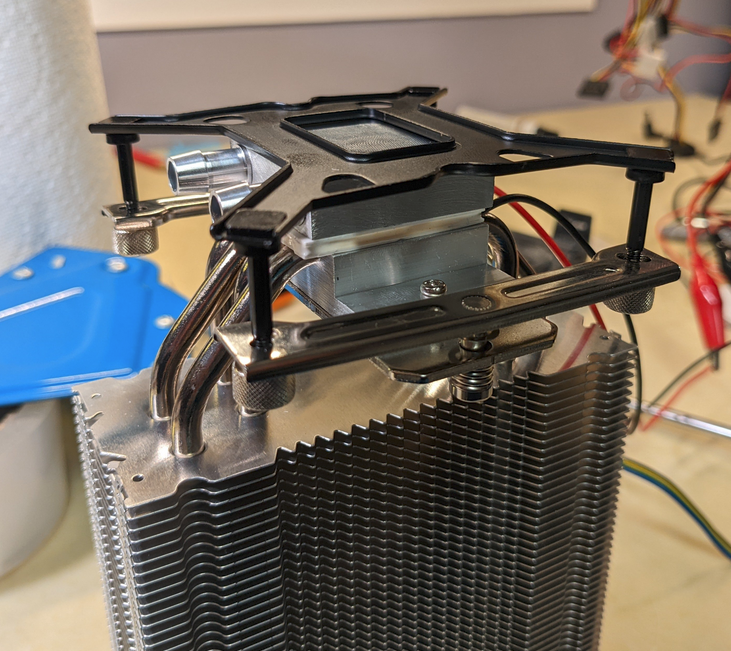
Four of them were then strapped together and mounted into the Chiller
A computer power supply was butchered and added
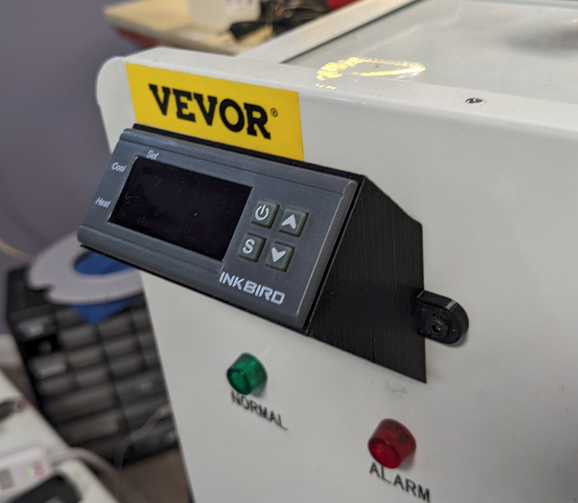
Then an inkbird thermostat was installed and set up to trigger the PS_ON line on the atx power supply. I designed this bracket to mount the thermostat out of the way of the water tank.
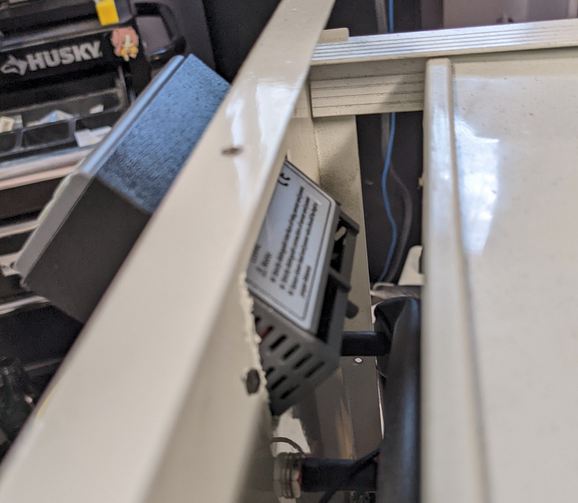
I won’t go in to too much depth about the wiring other than to say that the pump and thermostat were wired to the on/off switch. The power supply was wired directly to the mains input and the PS_ON and ground were wired to the “cooling” relay on the inkbird. The Inkbird was wired to the thermocouple that was already installed in the water tank.
The chart above does not even begin to do justice to how terribly the TECs performed. They ran hot, never really got the water down to temperature, and the water blocks didn’t have enough surface area to effectively transfer the heat. By the time you got or machined better water blocks, the water fountain would have been cheaper, and given the added complexity of having to deal with tens of amps of DC, it is worth your time to just use a compressor anyway.
And that’s it for the TEC chiller. It performed poorly and drew a lot of power. For the amount of work involved, it wasn’t worth it. If you’re really interested in the build process in detail, it’s on twitter here:
Chilling With a Water Fountain
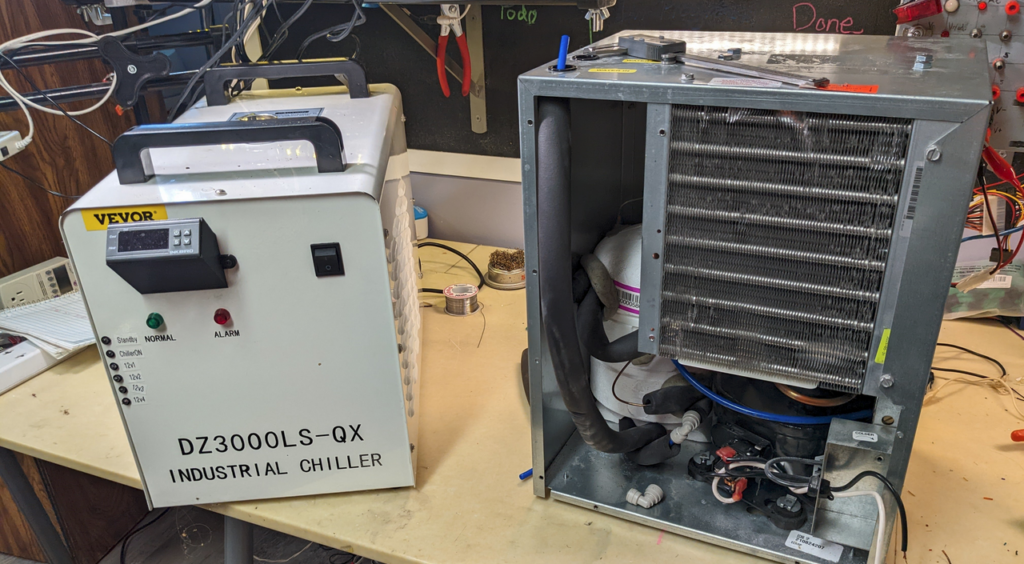
This is an ELKAY 8 Gallon water chiller that was designed to run 2 drinking fountains. I purchased it on craigslist for $200. It could have been used AS-IS with either my modified DZ3000 or a stock DZ3000. It even could have been used with my bucket solution. It contains a compressor, heat exchanger, reservoir, thermostat, and fan. It would be possible to run this thing in series with any cooling loop with only a couple of 5/16 fittings.
That would have been too easy though. I was worried about flow restriction and thermostat failure causing the whole thing to crack open if it froze(a common failure mode for water fountains according to the seller). It also seemed like a bulky, cumbersome way to handle the problem.
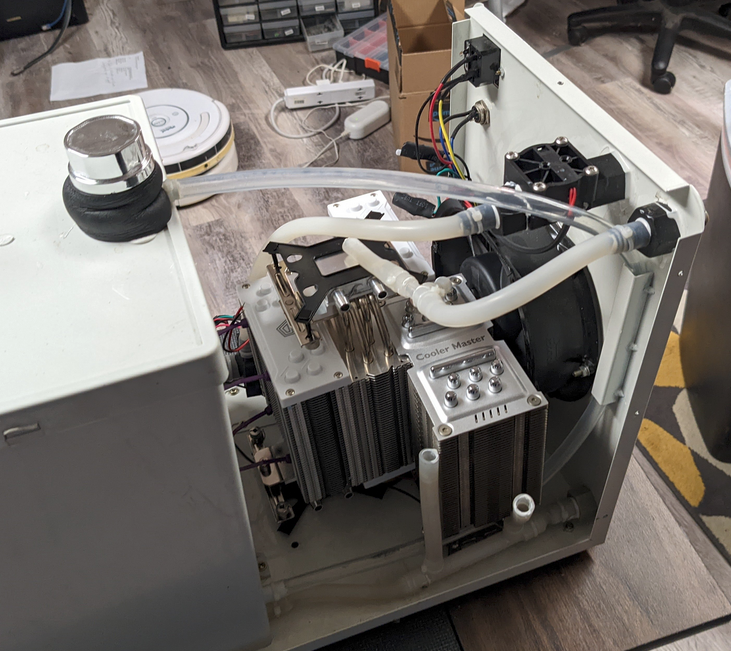
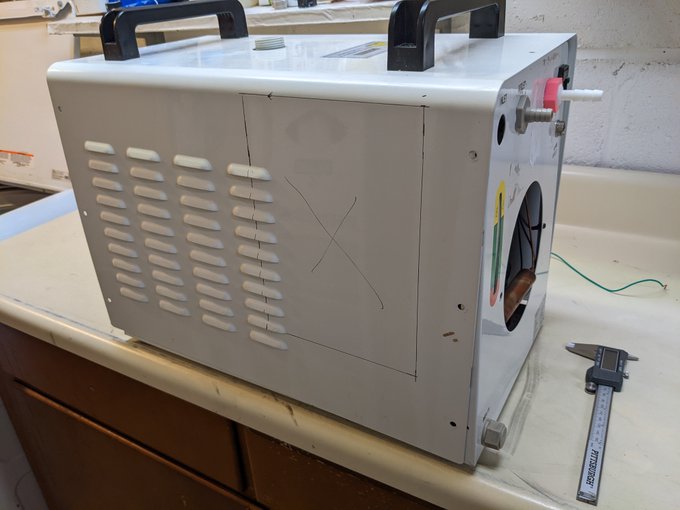
The chiller would have to be transplanted into the DZ3000LS
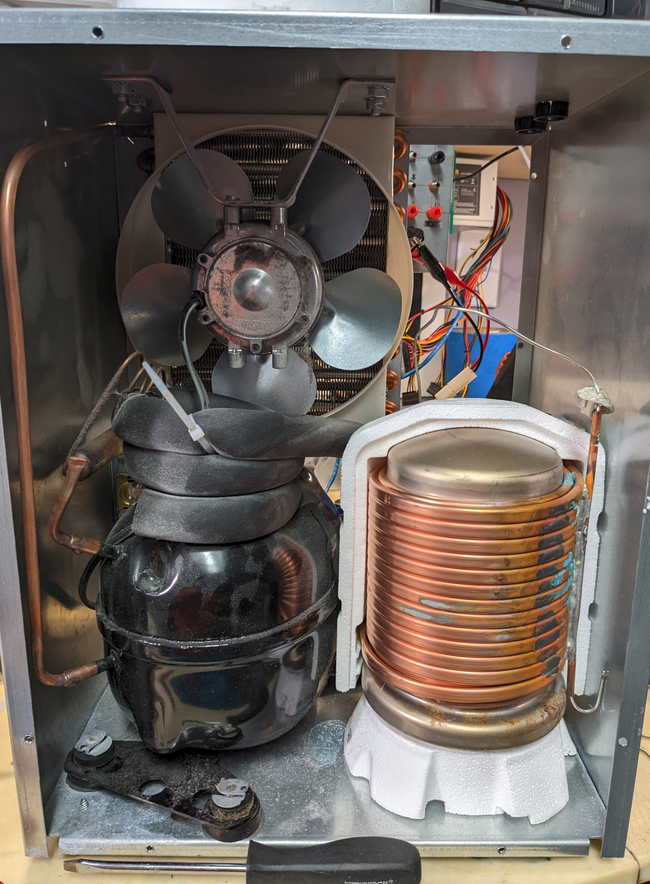
I decided that the best way to utilize this thing would be to cut out the reservoir and dunk the whole evaporator in the water tank. Doing so involved some brute force and fire.
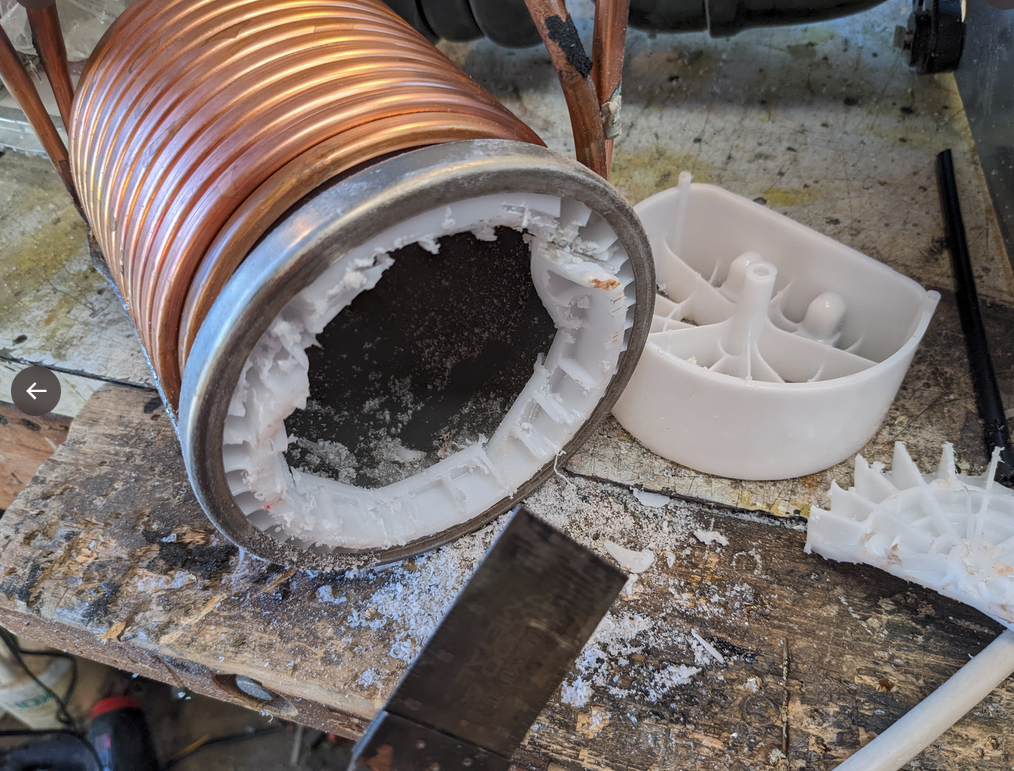
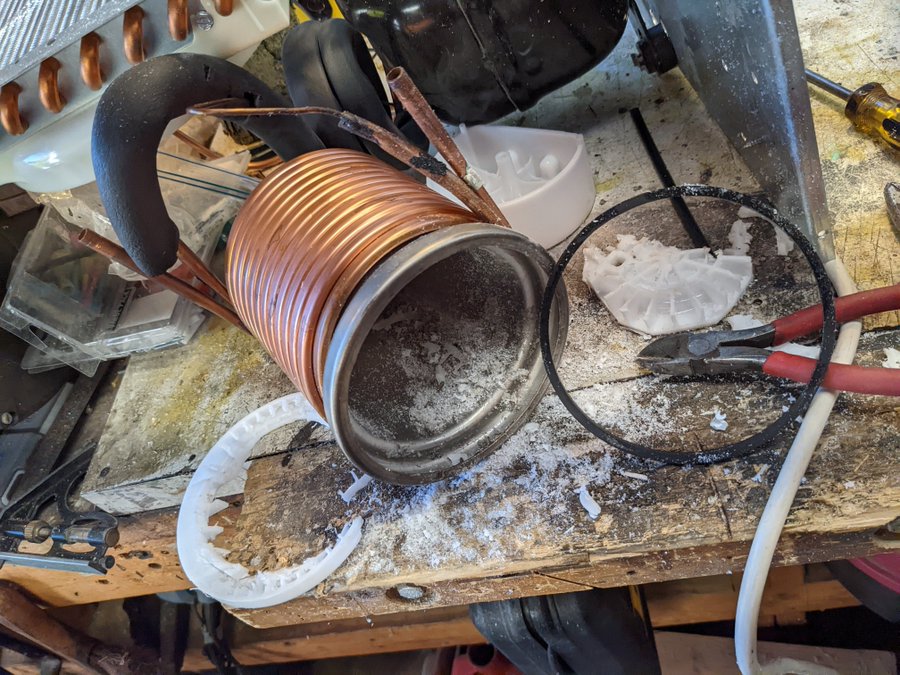
I then massaged the whole thing into the DZ3000’s reservoir:
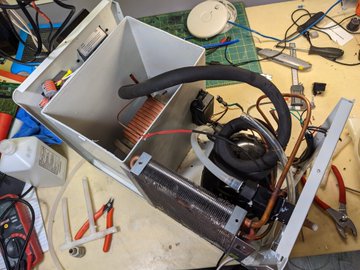
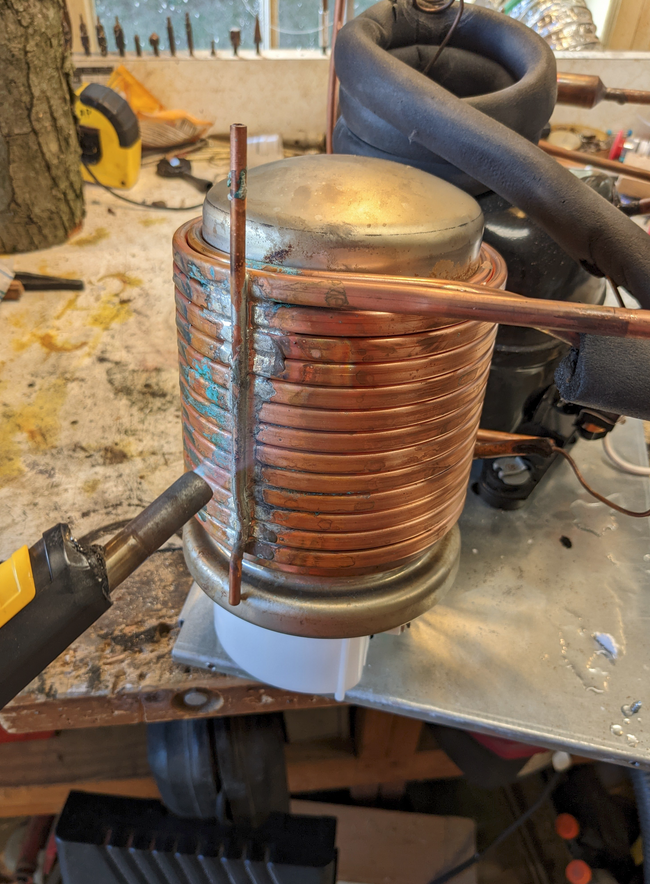
A hole was then cut in the case to accommodate the condenser coil.
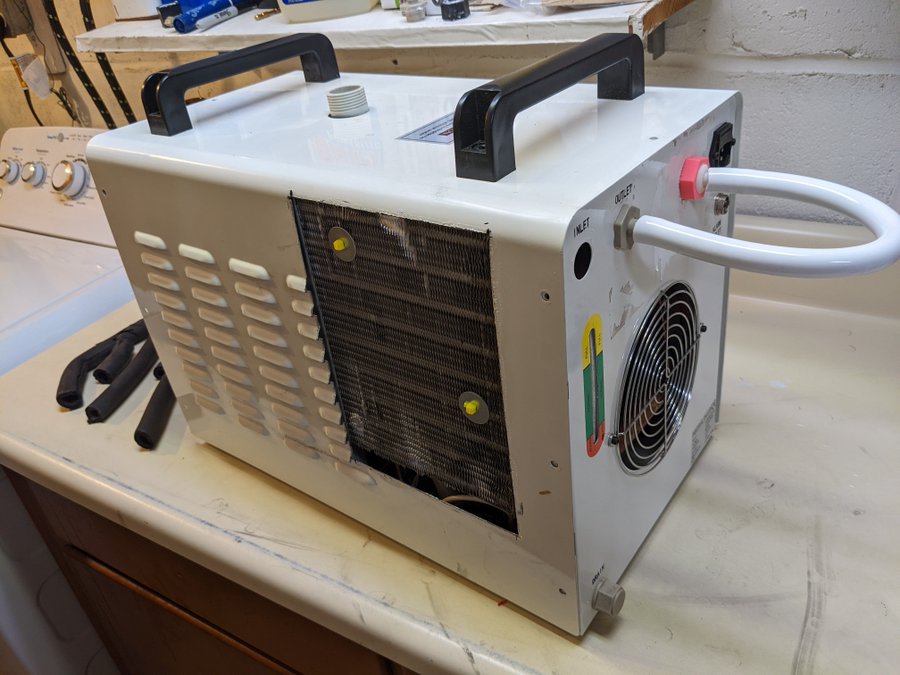
Please note that a fan was zip tied to the back of the condenser. If you decide to tackle this yourself, the stock fan can be mounted externally in the big round hole on the back and will provide better results. My fan happened to be 220v so it was discarded.
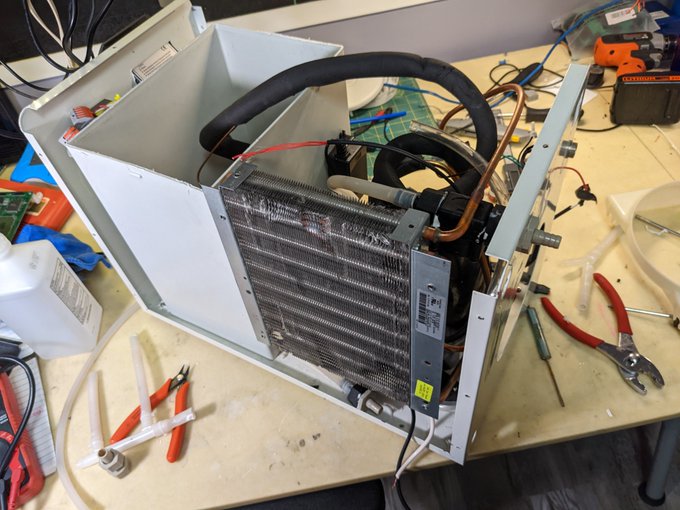
As far as wiring goes, nothing rally changed from the stock configuration. The fan and compressor were wired up to the “cooling” relay on the Inkbird, and the pump was left wired to the switch on the front. That way the fan only comes on with the compressor, and the pump keeps circulating the water regardless of temperature.
Overall it was easier to shoehorn this thing into the chiller than it was to try to get both the peltiers and an 50a,12v power supply into the thing. The wiring is also much simpler and the increased performance is night and day.
More details in the twitter threads:
Conclusion
TEC chillers suck. The CW3000 is a glorified bucket. Should you try to upgrade a CW3000? Probably not. And if you do, you should absolutely *not* use TEC coolers.
This is the type of project that you should only take on if you can get a cheap water fountain and a cheap CW3000. If you have one already, go right ahead, but I’m now something like $400 into this project and a CW5202 can be had for under $500
If you can get a cheap water fountain core, my suggestion is to run it in series with your existing water loop, maybe with an inkbird or other thermostat to turn it on and off. You could even run more than one in parallel if you wanted to.
4 responses to “A Tale of 2 Chillers”
[…] case for the cooling equipment you’re getting alongside it, however, as [RealTimeKodi] shows in a post-project blogpost. They bought a CX3000 “chiller” and found out it had no chiller components (Nitter), only […]
[…] for the cooling devices you are finding alongside it, however, as [RealTimeKodi] reveals in a post-project blogpost. They acquired a CX3000 “chiller” and identified out it experienced no chiller parts (Nitter), […]
[…] case for the cooling equipment you’re getting alongside it, however, as [RealTimeKodi] shows in a post-project blogpost. They bought a CX3000 “chiller” and found out it had no chiller components (Nitter), only […]
[…] case for the cooling equipment you’re getting alongside it, however, as [RealTimeKodi] shows in a post-project blogpost. They bought a CX3000 “chiller” and found out it had no chiller components (Nitter), only […]