
Is this a build guide or just a build log? Who knows?
This is the first CAD model I’ve ever tried to sell. Companion Cube Subwoofer CAD Files($4 Paid model)
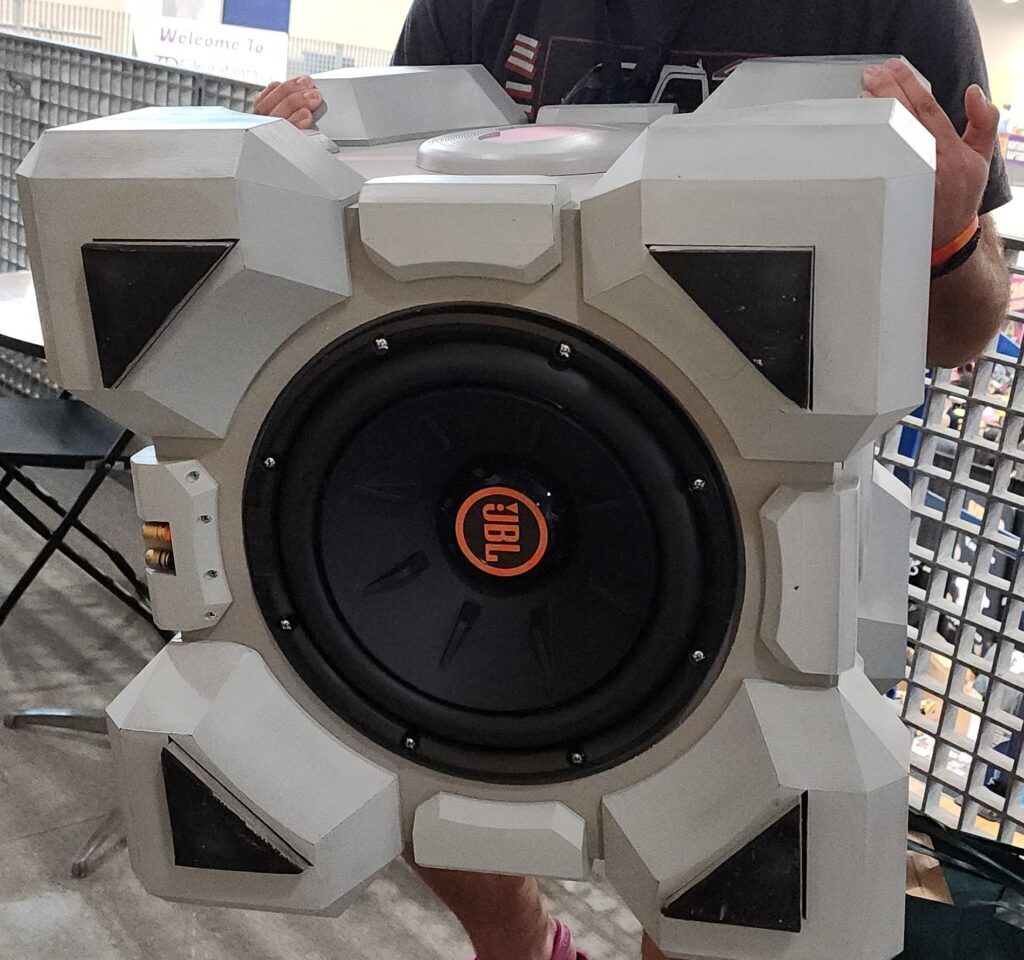
This story starts with a blown JBL subwoofer and a lucky find of a new-in-box JBL Club 1224 a friend found at the thrift store for $55. Over the course of the next month, I turned that speaker, a sheet of MDF, and almost 7KG of filament into a sub box for my living room that’s powerful enough to shake the house.
This isn’t exactly a tutorial, but if you’re interested in replicating this build, you’ll need access to a 3d printer that can do at least 250x250x250mm and a table saw. A trim nail gun and a Cricut are nice to have but not ultimately needed.
If you already have a cube-shaped subwoofer, good news: you can skip the next section and just print these parts and glue them on!
The Box
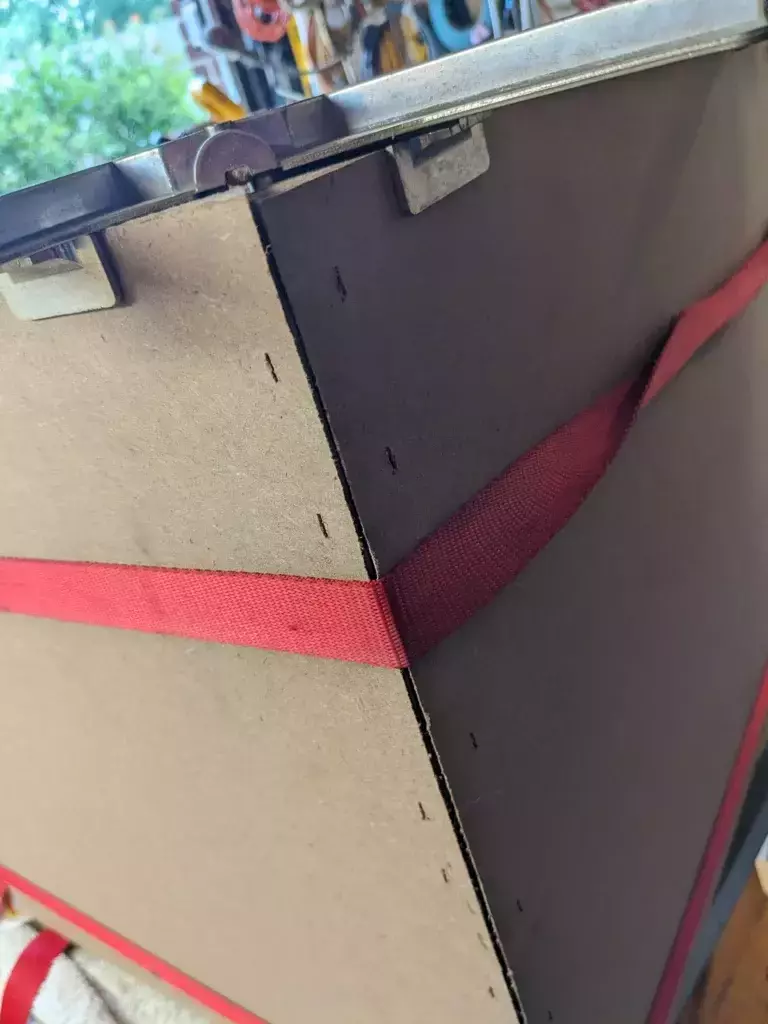
Building a box with mitered edges is more difficult than it looks. I went with 3/4″ MDF and 18in sides for an internal volume somewhere around 2.5ft^3. This was the volume specified in the manual for the JBL Club 1224 I was using.
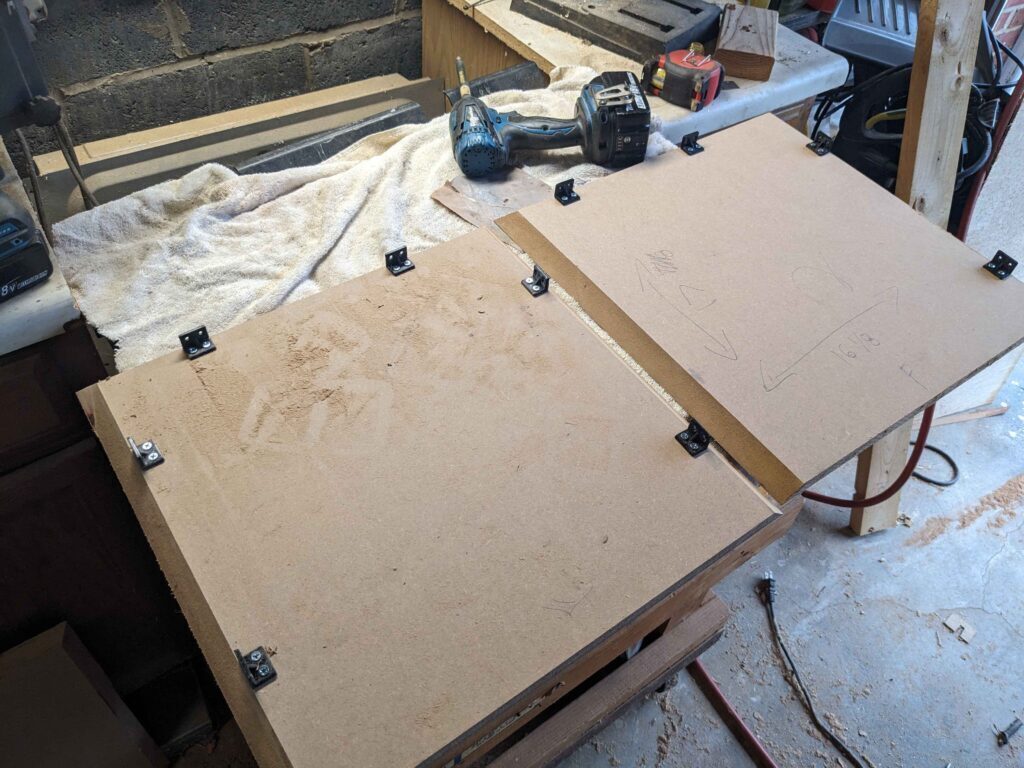
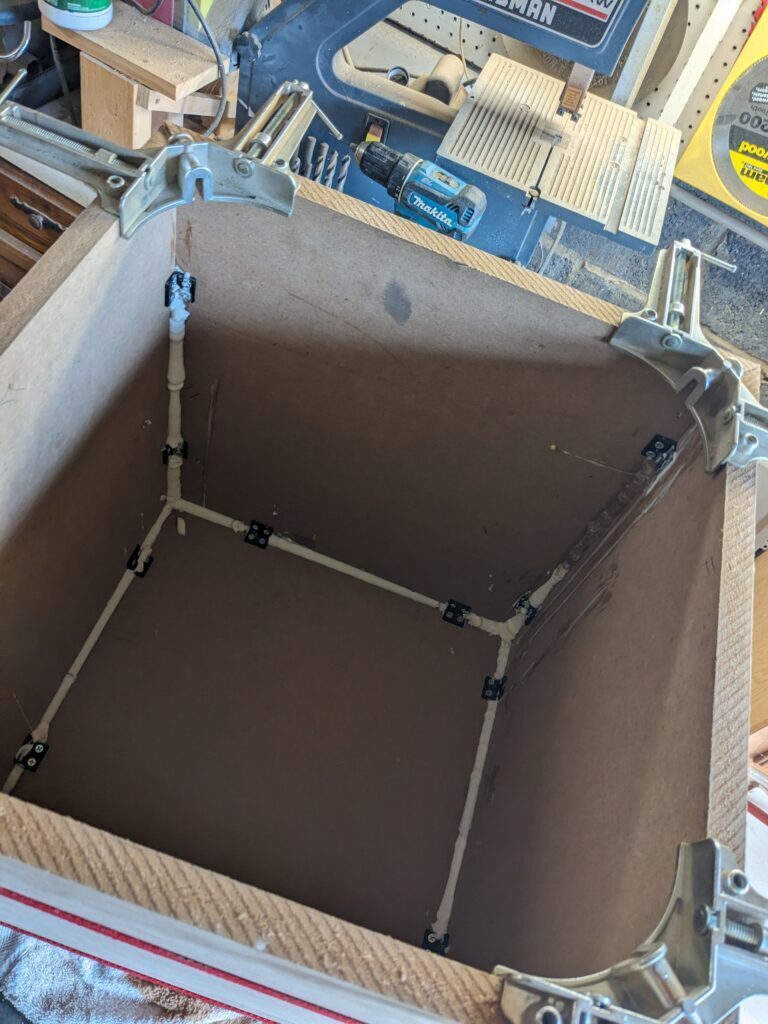
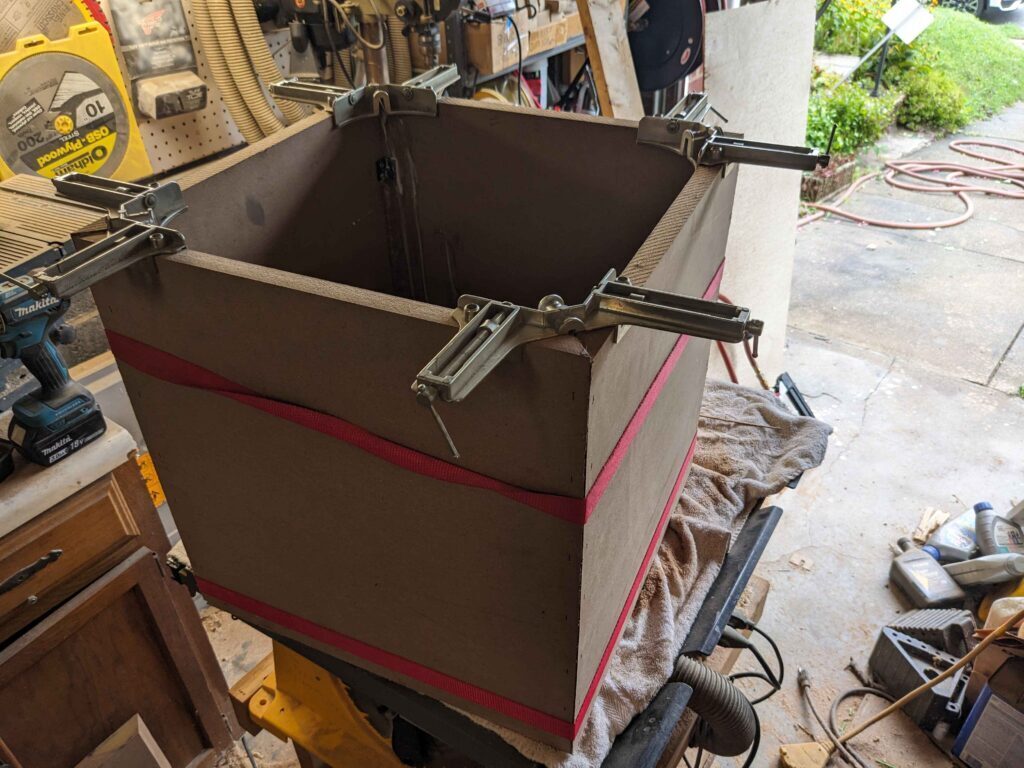
The faces of the box were cut to 18x18in outside then glued and attached together with 3d printed angle brackets and 3/4″ crown staples. The inside was then caulked with silicone to prevent air leaks.
As you can see, boxes are hard. More on that later.
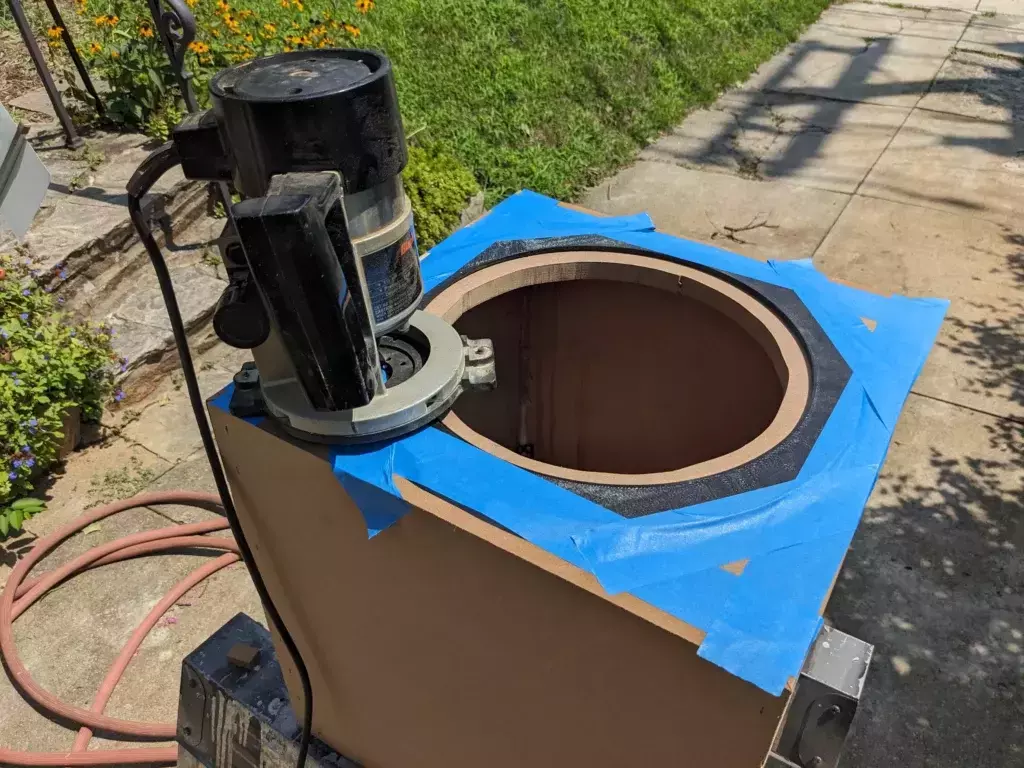
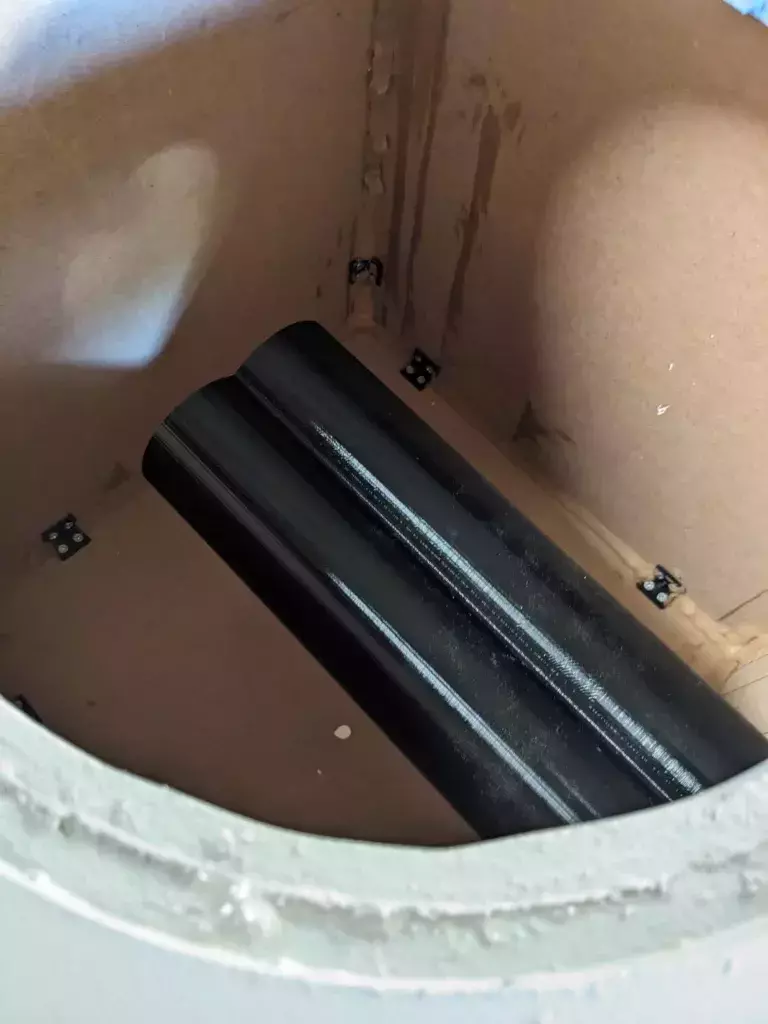
The speaker hole was then roughly cut with a jigsaw and routed with this 3d printed template. (At some point a hole was cut in the side for the bass port as well)
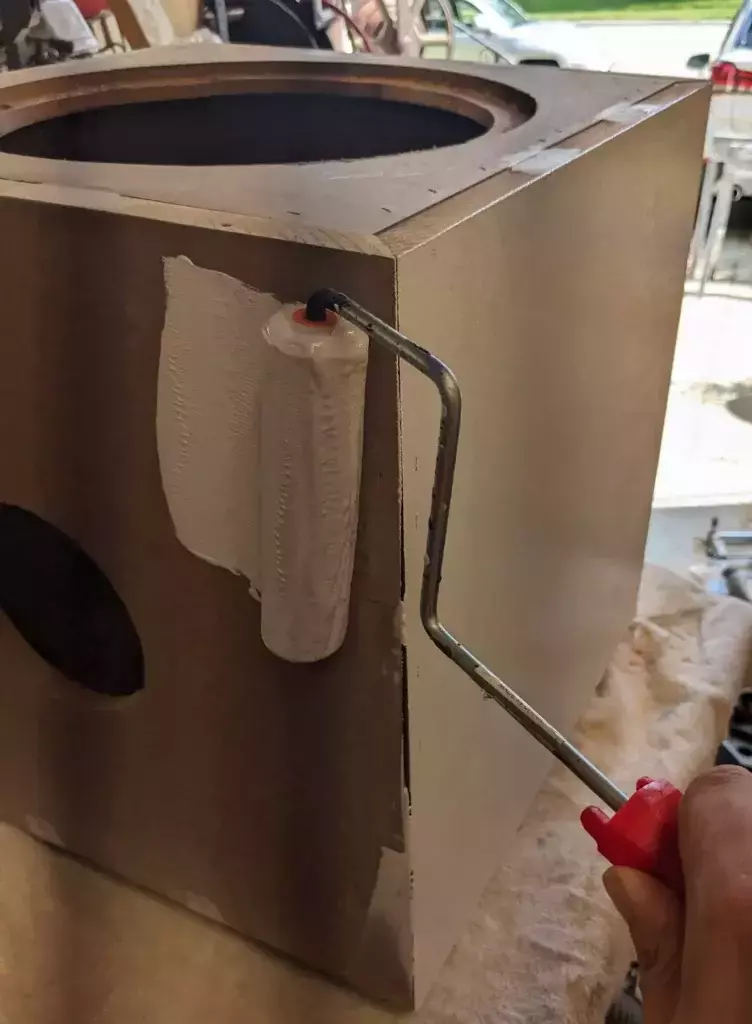
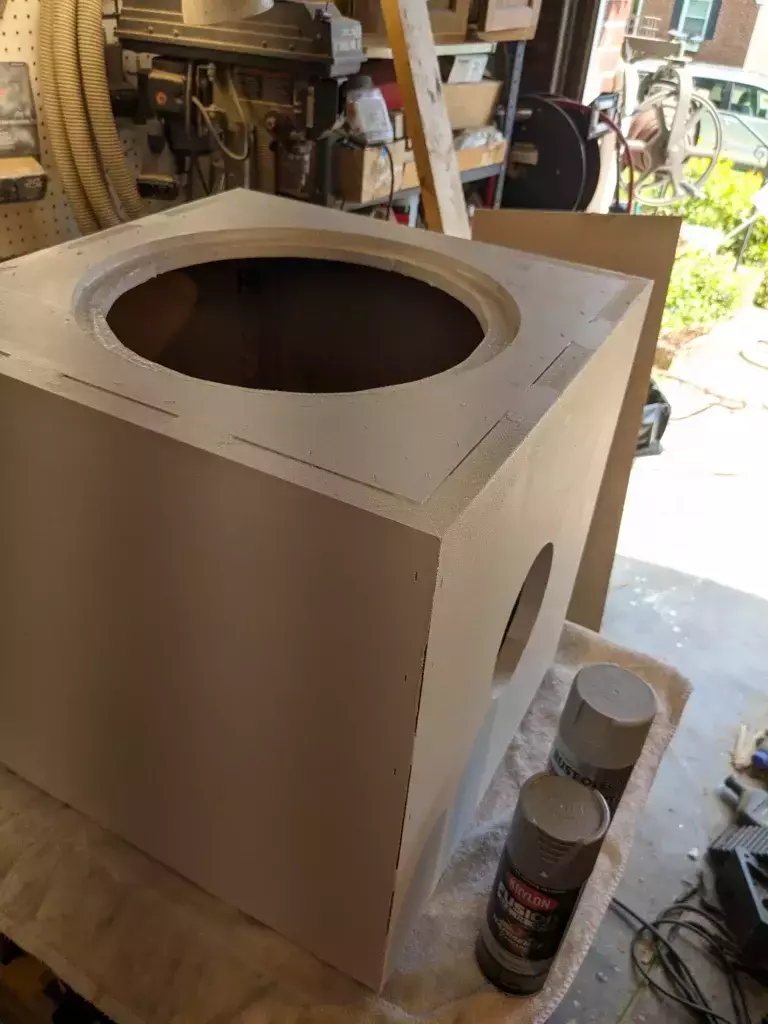
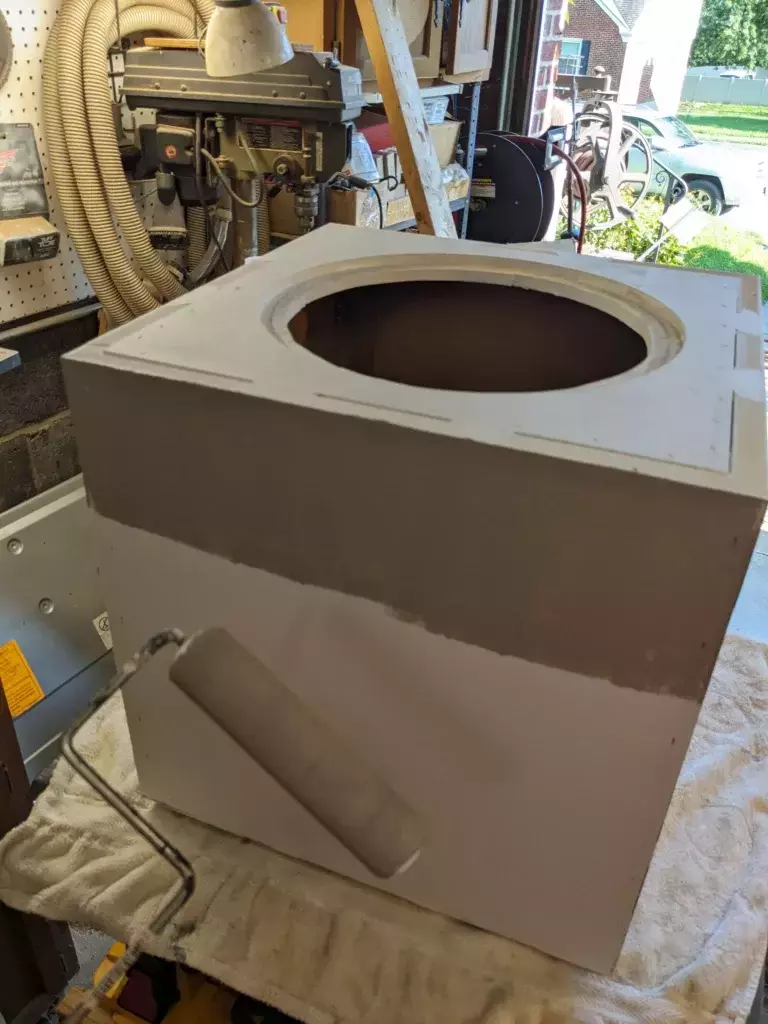
Then brought back inside to have its corners smoothed with white wood filler. It was then primed and painted with grey house paint. Note that I only smoothed the cube where it would be exposed. This was 2 coats of filler sanded in between.
For feet I just stacked up some MDF and glued some rubber feet on. This step should be done after the feet have been printed though it it technically optional if you decide to use the standard cube corners on the bottom.
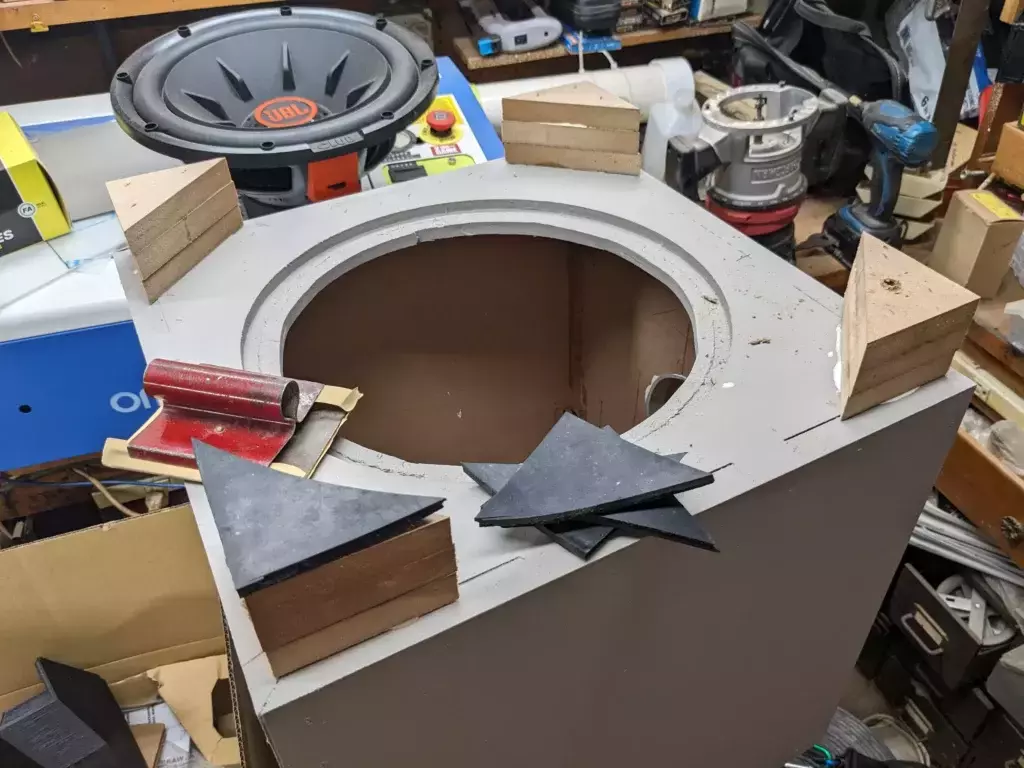
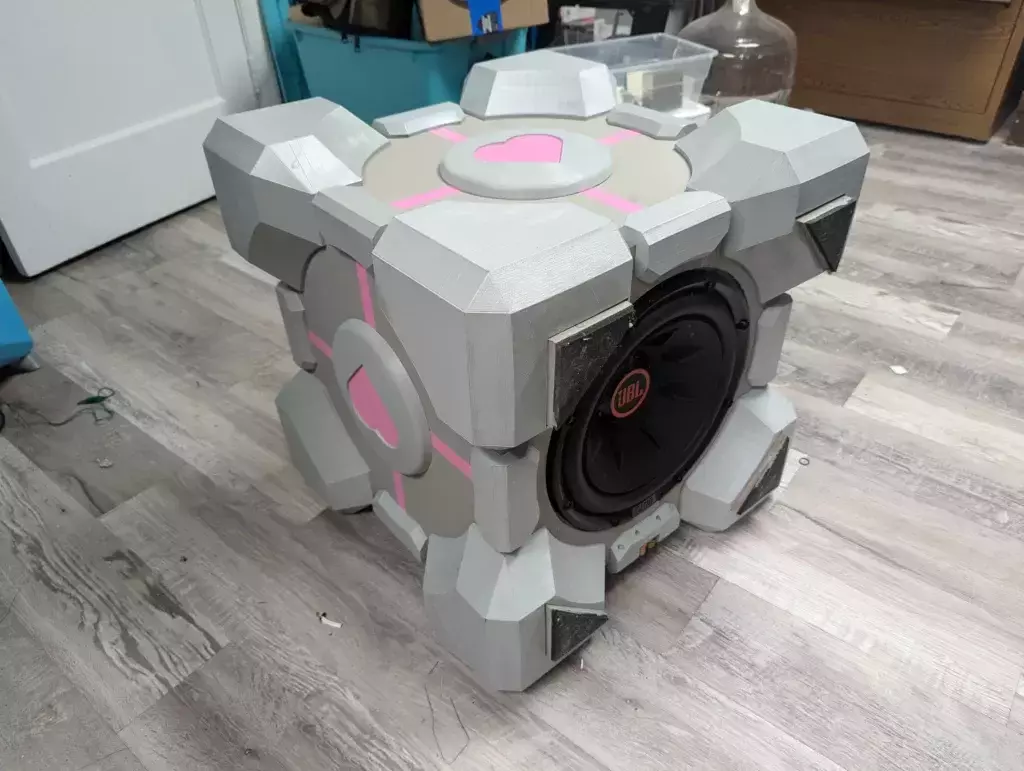
Turing a Cube into a Companion Cube
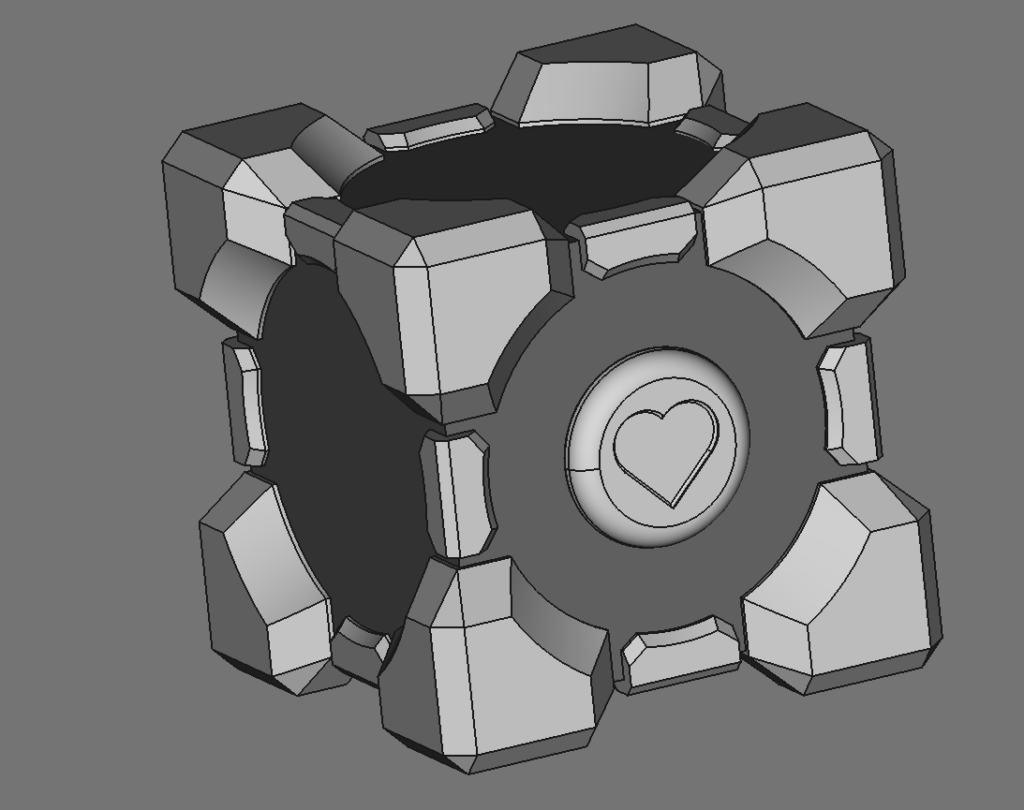
In between coats of wood filler and paint, I was at the computer designing the cube accessories in FreeCAD. Almost all of these parts were made by boolean cuts and fusions of simple primitives.
The exact parts you need to print are going to depend on whether you’re going to add feet like the previous picture shows. It is perfectly fine to just print 8 of the same corner and glue some rubber pads to the bottom surfaces.
- 8 Corner Pieces
- 12 Edge Pieces
- 4 Heart Panels
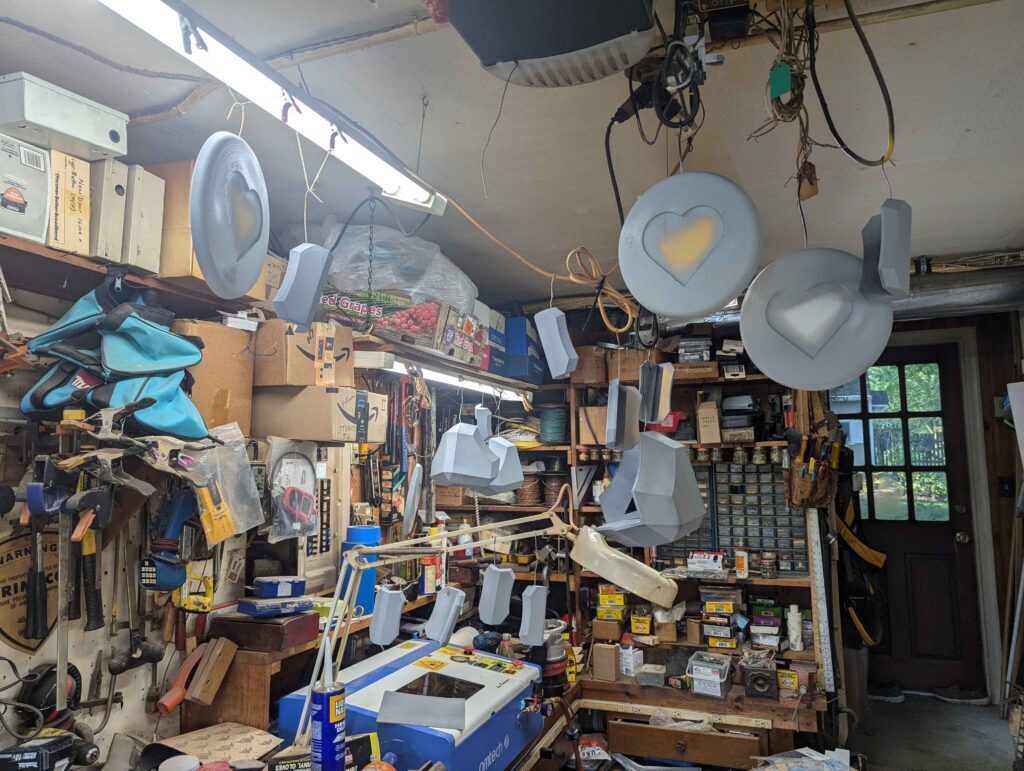
Each of the corners took me almost 48 hours each so be prepared for long prints and make sure to test fit before burning through a bunch of filament. I have over 6.6kg in this project.
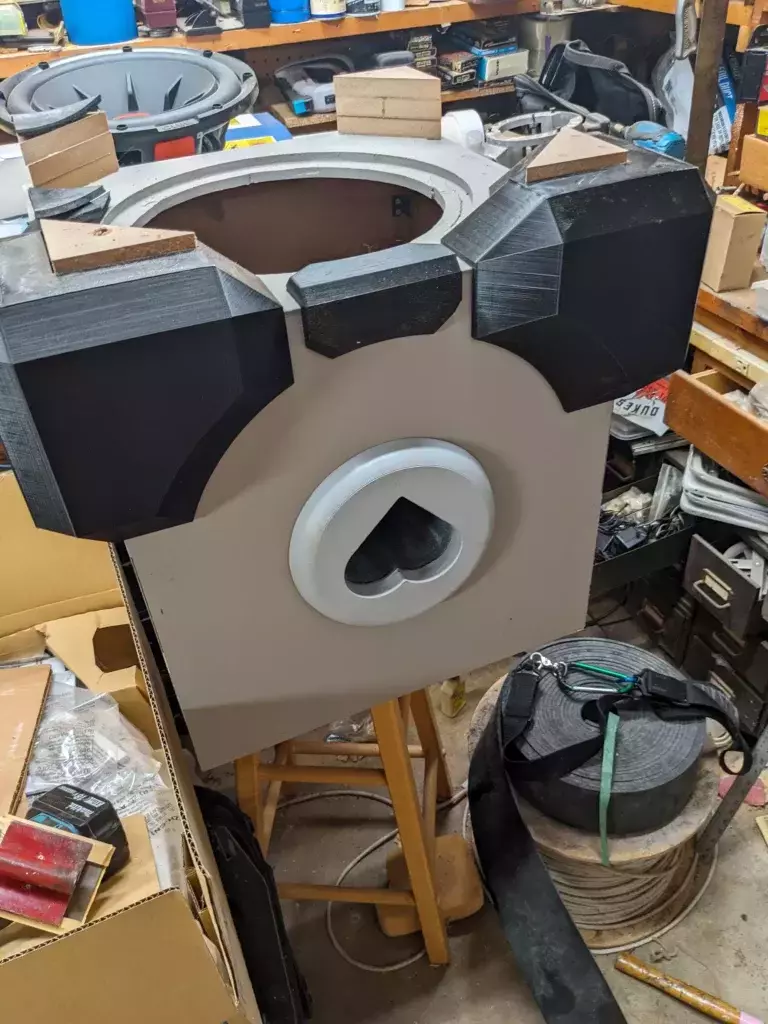
If you’re retrofitting an existing subwoofer, that’s all you’ll need. Scale them to the appropriate size for your box(they should work as is for 16.5in to 22in cubes) and print.
If you’re scratch building, you’re going to need the bass port and Tube pieces that match your subwoofer’s specs. If you’re using a Club 1224, the parts in the download already meet the specs. The bass port and tube, as well as the Edge-Hookups part will not do well with scaling so it’s best to stick with the 16.5-22in cube if you’re planning on using these parts.
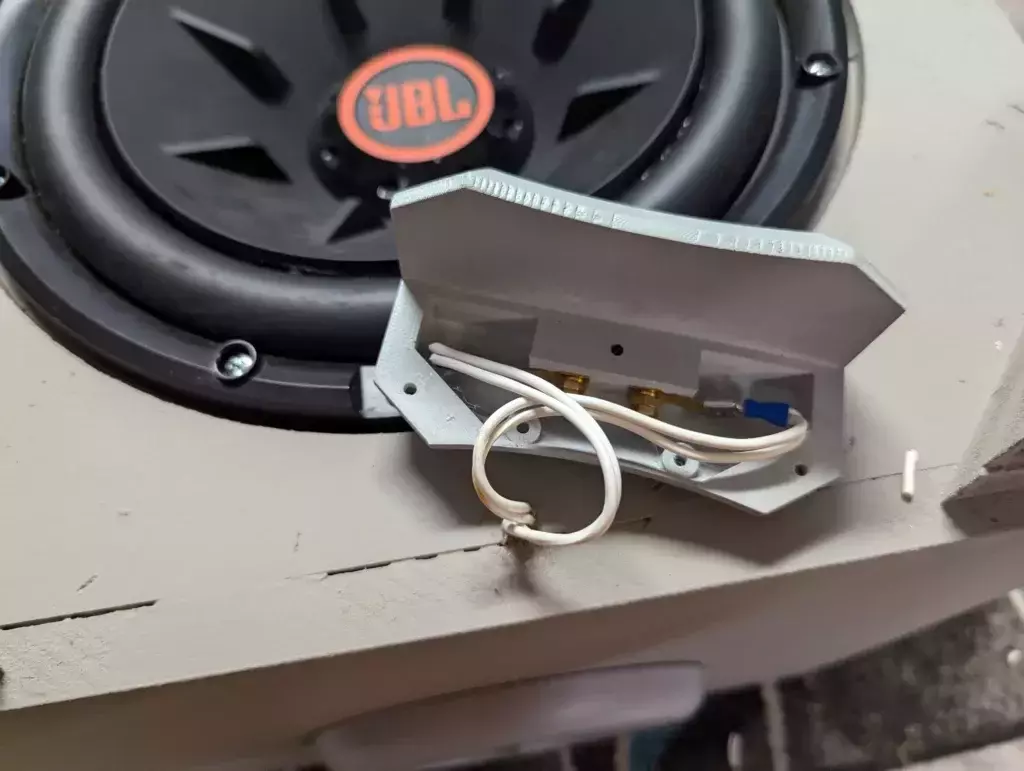
If you plan on using Edge-Hookups, you’ll want to run your wires as close to the center of one edge as possible. The connectors themselves are standard banana plugs, just about anything should work.
Print Settings
There is nothing particularly critical going on here. Just orient the flat surfaces down, turn off supports and set your infill/shells to a ratio where you’re not burning too much filament.
With a 0.6mm nozzle, I did 10% infill, 4 walls, 4 top, 3bottom layers and no supports.
I used PLA but I would not recommend this for use in a vehicle or other hot place.
Painting
Not much to say here. Make sure to sand the parts and remove any strings, then hit it with grey automotive primer followed by either a different grey or a clearcoat.
The pink can be painted on but I chose to use pink vinyl from dollar tree. There is an SVG file that will give you heart that fits in the panels if you own a vinyl cutter. Make sure to scale it accordingly if you scale the models!
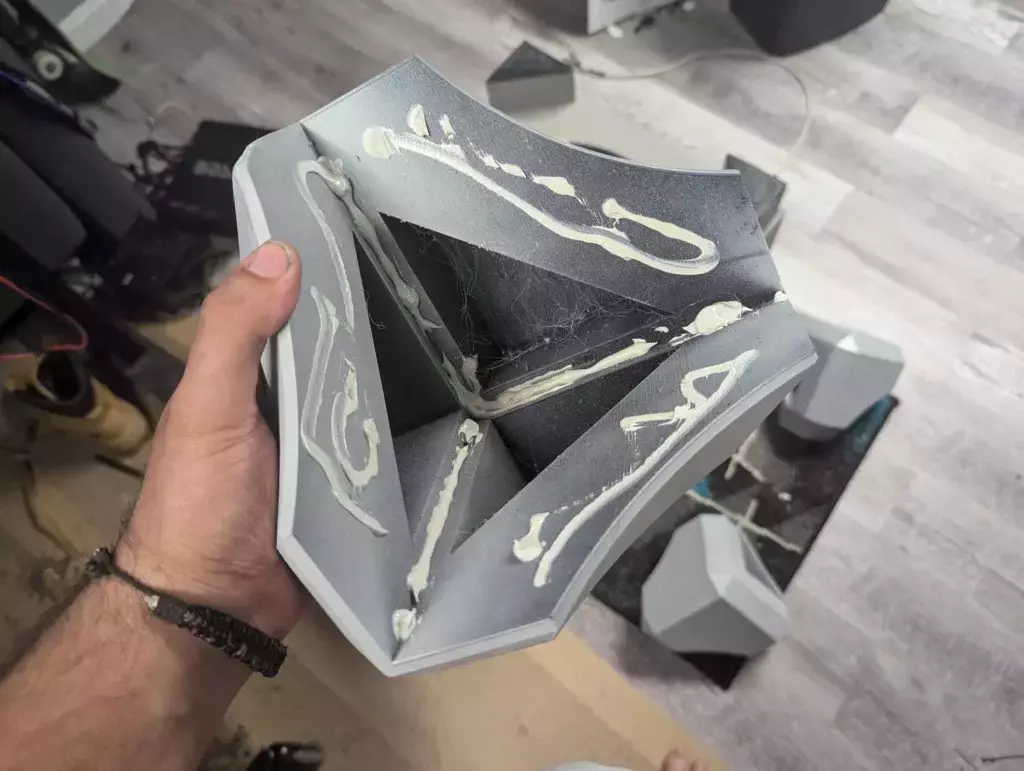
Glue Up
The glue you use is up to you. Make sure to get something that sticks well to both plastic and wood. I used Liquid Nails Heavy Duty construction adhesive. This glue is strong enough to pick up the whole cube by the glued on parts and is very affordable at $6 for a 19oz tube
The heart panels have a hole in the middle that allow you to put a small screw in the dead center of each cube face for centering purposes.
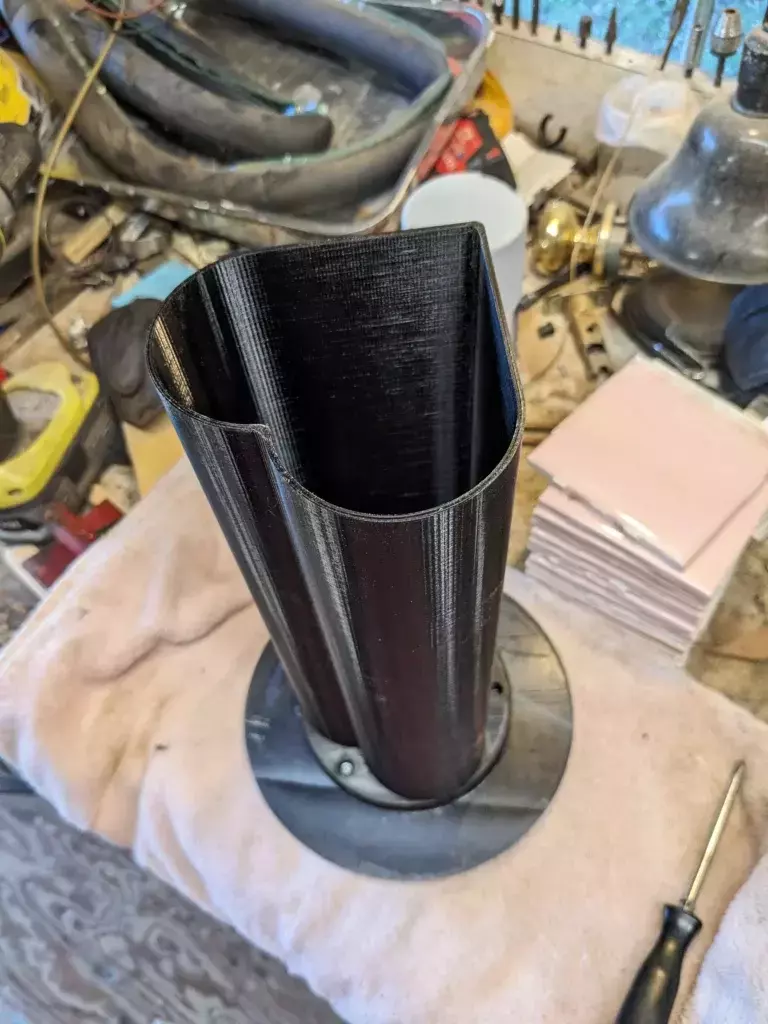
The bass port itself should be glued and screwed together and then installed into a hole slightly larger than the inner flange. It should be firmly glued in place.
Conclusion
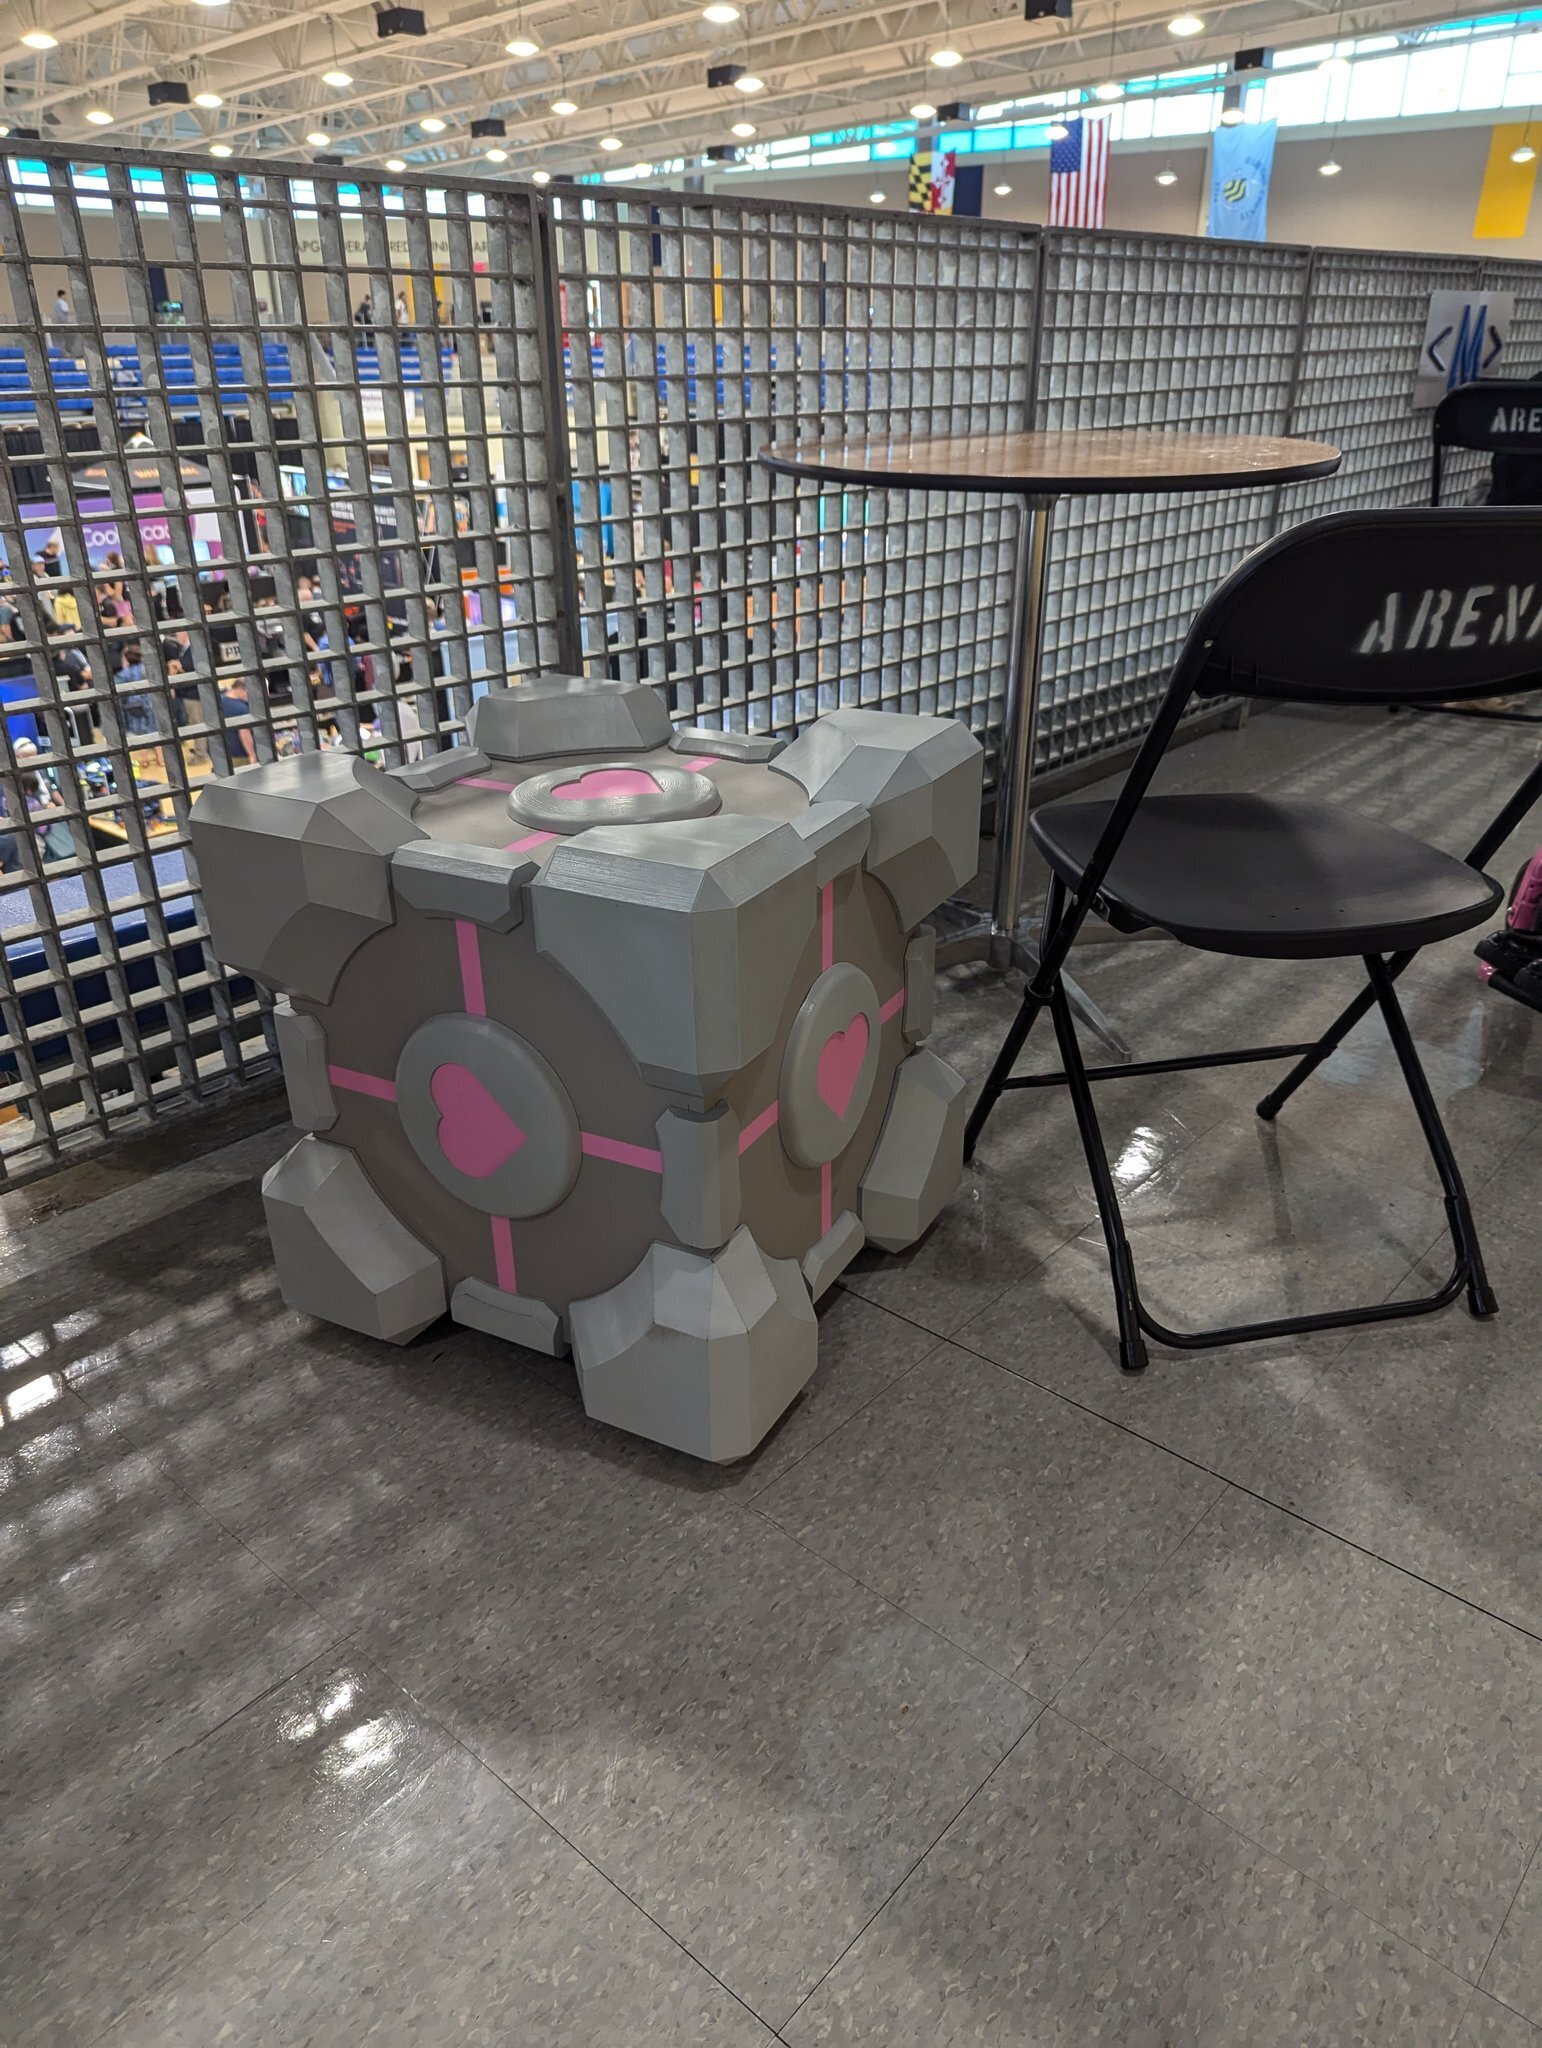
This thing really kicks. I’m using it with a random car amp from the same thrift store. It truly rattles the walls. I’ll leave you with a few pictures.
One response to “Aperture Science 1.1 Kilowatt Super-Colliding Super-Woofer”
*random GLADOS noises heard echoing from the N.E.*