
There is lots of conflicting information on the internet about toner transfer etching so I thought I’d take some time to put even more conflicting information out there. The subject of this post isn’t really a PCB but it uses the same methods and tools. This is a tricky and fiddly process but it’s very repeatable and precise once you work out how to make it work with the tools you have.
The process of making PCBs at home is can be broken up into several steps, and each of these steps can be accomplished in different ways depending on what you have available and what you’re trying to accomplish. You can mix and match tutorials for each of these steps. The process can be broken down as follows:
- Generate the art to be transferred
- Transfer a positive of the art to the copper clad material
- Etch the uncovered copper away using an acid
- (optional) Dye the board
- (optional) Apply Soldermask and Graphics to the board
Generate the Art
This is not a tutorial on circuit board CAD or using vector drawing software. I will however offer some tips for designing your art.
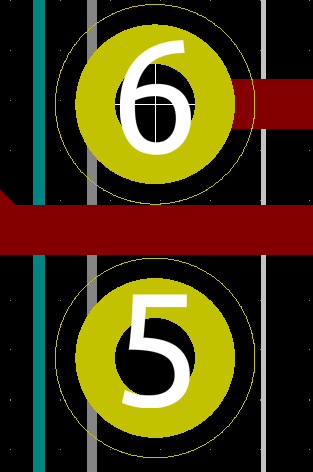
Tolerances are pretty good but not as good as commercial fabricators can handle. While it is possible to get traces down to 0.25mm with 0.5mm spacing, it’s not a great idea to attempt this on your first try. Best to keep your traces 0.5mm and above with 0.25mm spacing. If you want to do double sided boards, keep your vias fairly large, at least 2mm. These trace sizes will allow you to slip traces between the pads on a DIP package or standard pin header which greatly helps with routing.
Use large ground planes this will speed up your etch and make your etchant go farther. Keep your ground planes about 1mm or so from your traces.
Transfer to Copper Clad
This tutorial specifically is about toner transfer so that is what I’m going to cover here. There are other methods involving all kinds of techniques but if you’re here, you’re trying to get toner from your laser printer onto your copper. For this process you’ll need:
- Laser printer
- Copper clad
- A cheap magazine OR inkjet glossy photo paper
- A hot thing. A clothes iron works but if you don’t hate yourself, get a laminator. The cheap one from harbor freight works well.
The first thing you need to do is mirror your art for printing. You should print a draft at this point and make sure the scale is correct. Lay your components out on the paper and make sure the pads line up.
Next you have a choice to make. Magazine paper is basically free, but it is a bitch to run through the printer. If you go this route, tape your magazine paper to a piece of regular paper on 3 sides. The paper you’re looking for is kind of rough with poor image quality. Not super smooth and glossy. You want it to basically turn to pulp when you get it wet.
Glossy Photo Paper works well but will require lots of heat to get the transfer working. The benefit is that it won’t leave any paper residue in the toner, which is nice if you’re doing toner transfer just for the sake of transferring an image. It also will give a better result. Using inkjet paper will help ensure that you can get the paper off of the toner without damaging the transfer.
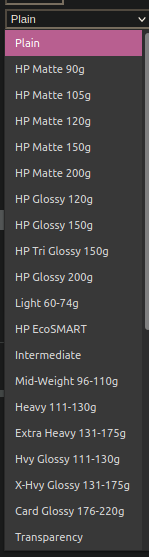
In either case, you’ll need to go into your printer’s settings and turn the toner all the way up. Do this in the print dialog, do this in the printer’s web interface, do this in every control panel you have in the printer. In my HP printer, the setting is called “print density” set the black density to the highest it’ll go. While you’re in there, set the paper to glossy photo paper. Whatever the thickest sounding paper is in the list, pick that. We want as much toner as we can get stuck to the paper. Also look for toner saving “eco” options and turn those off. Even with all of these precautions, some printers just can’t do this.
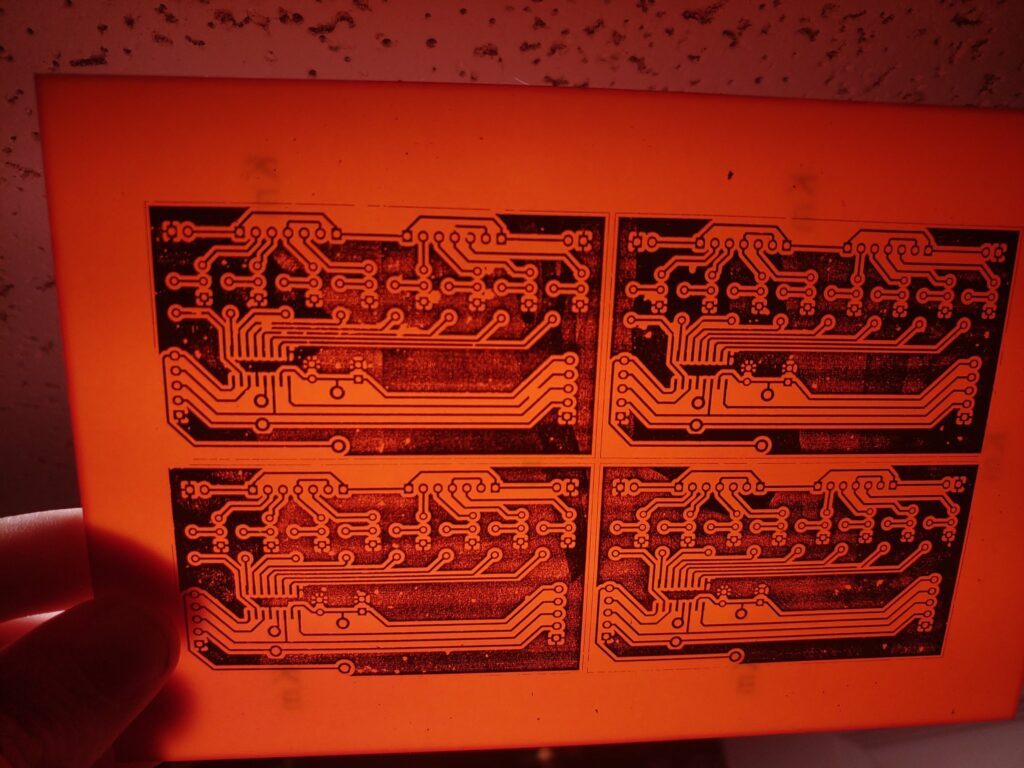
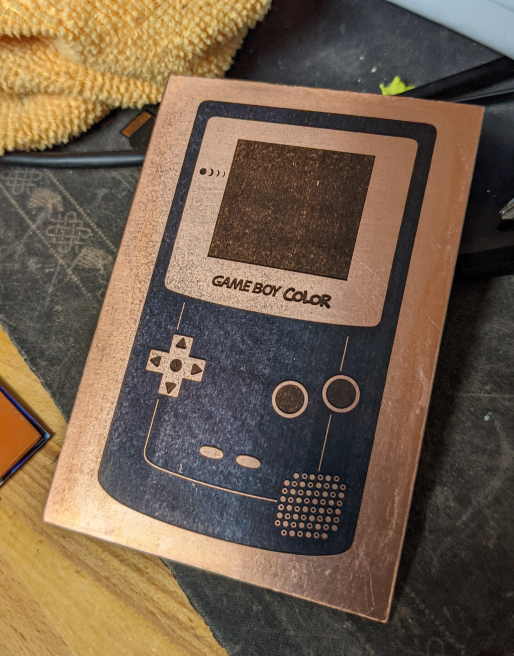
Now that your printer is set up, load your fancy paper into the tray and hit print. If you’re having trouble with print density, make sure your cartridge is at least 50% full and maybe give it a shake to evenly distribute the toner across the roller. Putting in a brand new cartridge can sometimes help too. You should end up with something like this:

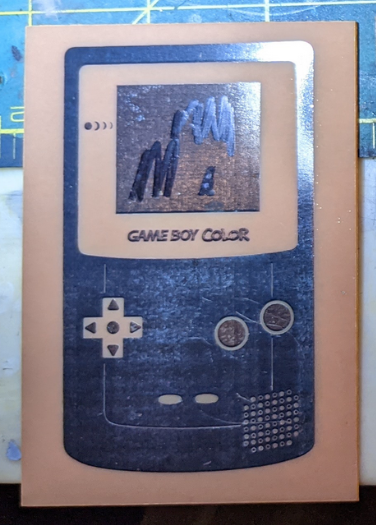
What you need to do now is place this face down on to clean copper clad then fold one side over to make a pouch, then tape the flap to the back of the board.

You can then run your board through the laminator 20 or 30 times in different orientations. If you’re like me, you can modify your laminator to run at 1/30th the speed and just run it through 2 or 3 times. If you don’t have a laminator, a cloths iron is an alternative. Not a good alternative, but it works. The following footage is from an unrelated project but shows the basics.
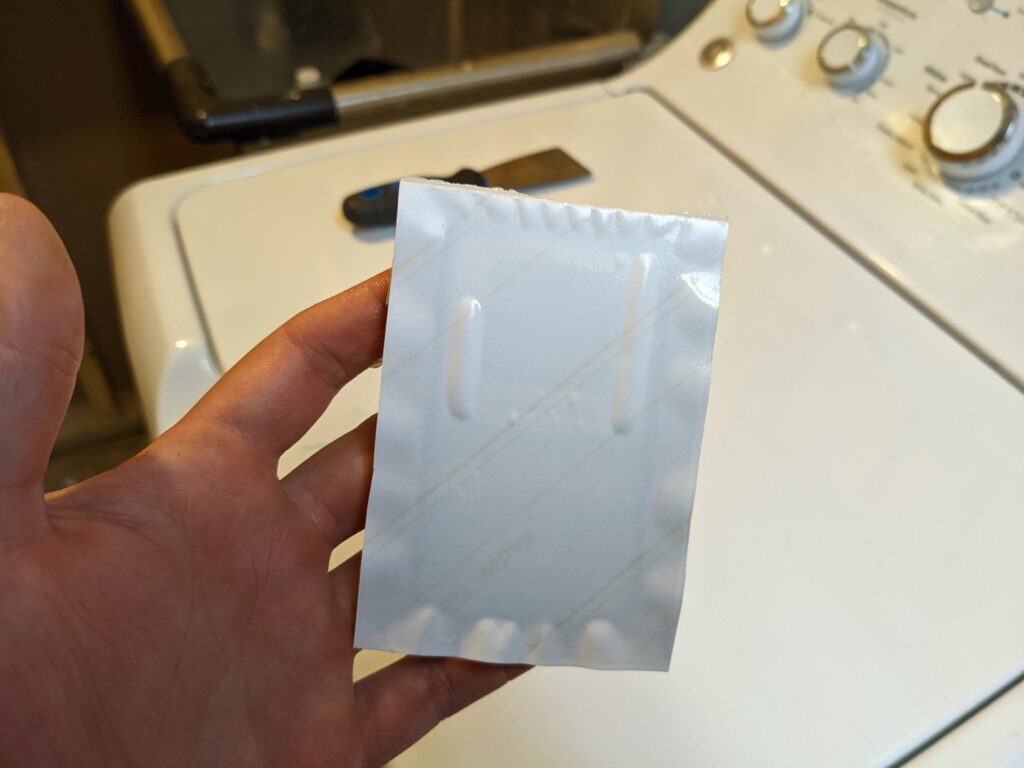
After applying the heat, soak the board in warm water to soften the paper. Magazine paper will become soggy and either just fall off, or need to be peeled off carefully. Inkjet photo paper will get slimy on the front and need to be peeled off with some force, but will leave behind a better image.
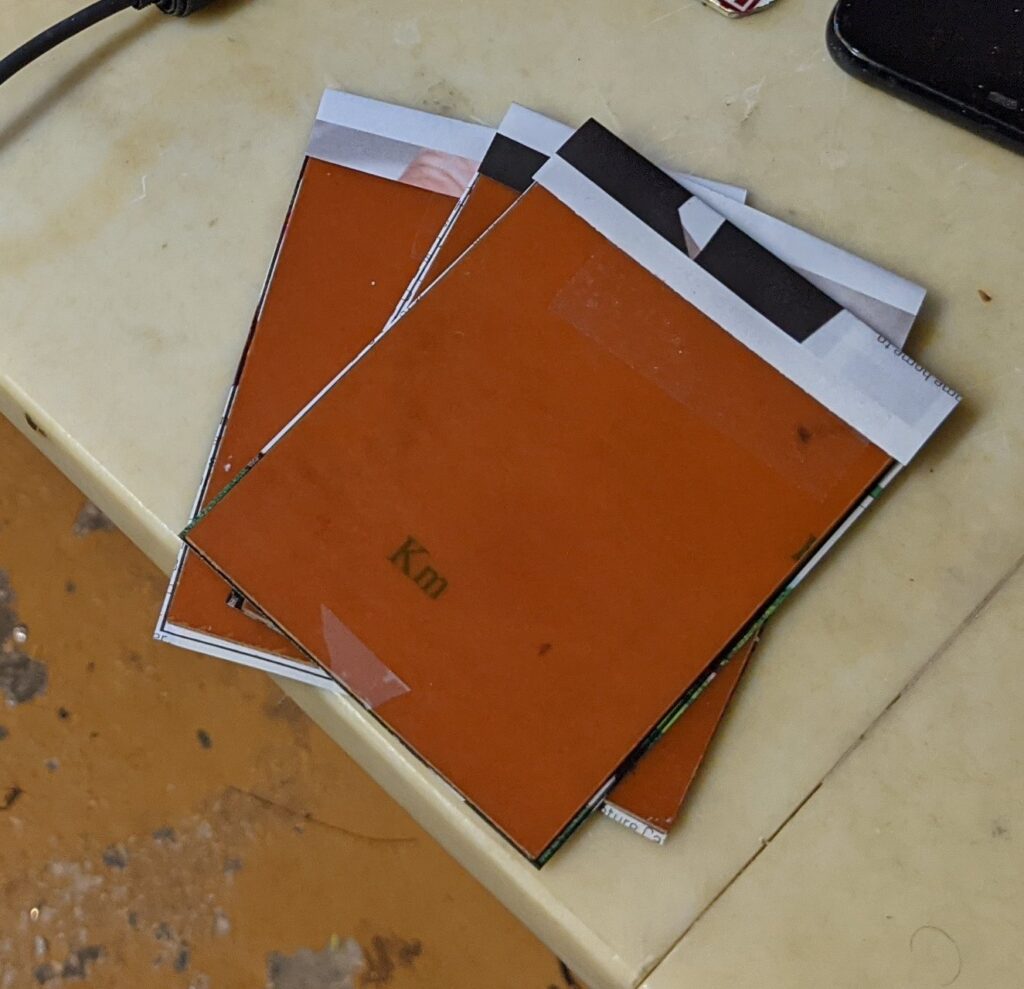
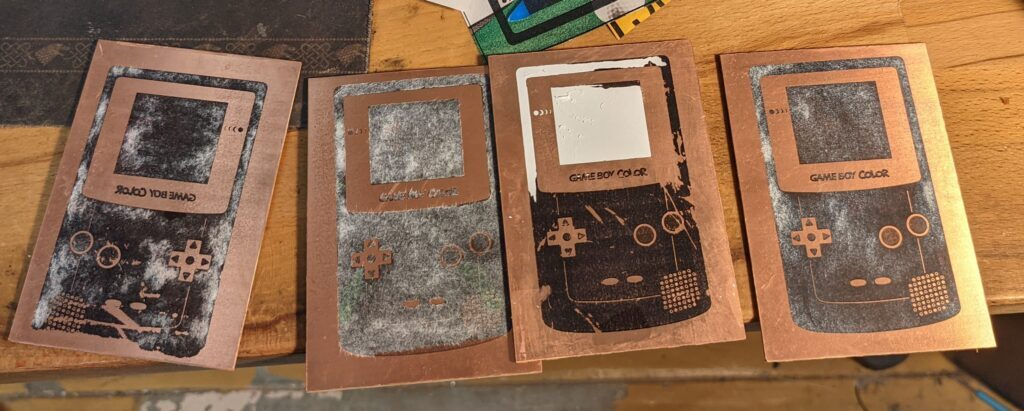
The end result should look like this:
Note that there are still some holes in the transfers. This is fine, they can be touched up with a sharpie. You could actually draw out the whole PCB with a sharpie if you wanted to. You should be able to drag your fingernail across the toner without removing it.
Transfer Troubleshooting
Toner comes off easily, sticks to paper more than copper clad:
More heat during the transfer, get that thing good and hot. It should be almost too hot to handle. Also make sure your copper is clean, dry and free of oils. Wipe it down with acetone and fine sandpaper before you start your transfer. It should be shiny.
You should not be able to scratch the toner with your fingernail while applying reasonable pressure.
Artwork is smeared, traces are too big:
Too much heat, too much pressure. Your paper could have moved during heating, tape it down better, avoid wrinkles.
Parts of the image are fine while other parts didn’t transfer:
Your heating is uneaven.
Something else
If you are experienceing a problem, send me an email or a DM on twitter @realtimekodi with pictures. Specify if those pictures can’t be posted since I’d like to add them to this section.
Etch the Board
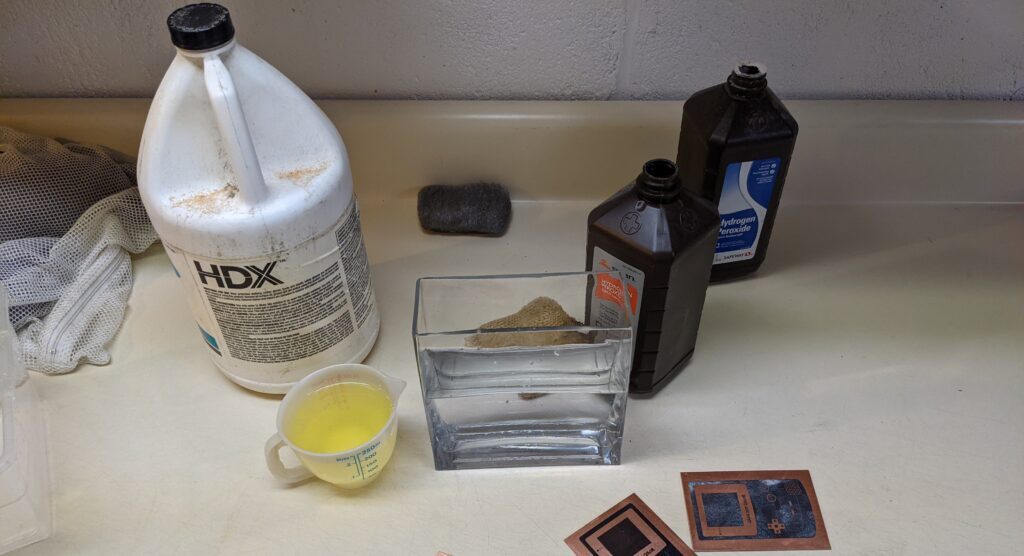
There are lots of etchants available. The one I prefer is a solution of 2 parts 3% hydrogen peroxide(H202) to 1 part muriatic acid(HCl). I won’t claim to know how this works other than to say that it takes metallic copper from any uncovered surface and dissolves it into the solution as a copper salt (CuCl) releasing hydrogen as a byproduct. Do this in a well ventilated area with gloves, goggles, and a respirator to prevent acid from getting on you. The solution is fairly safe if washed off immediately with lots of water.
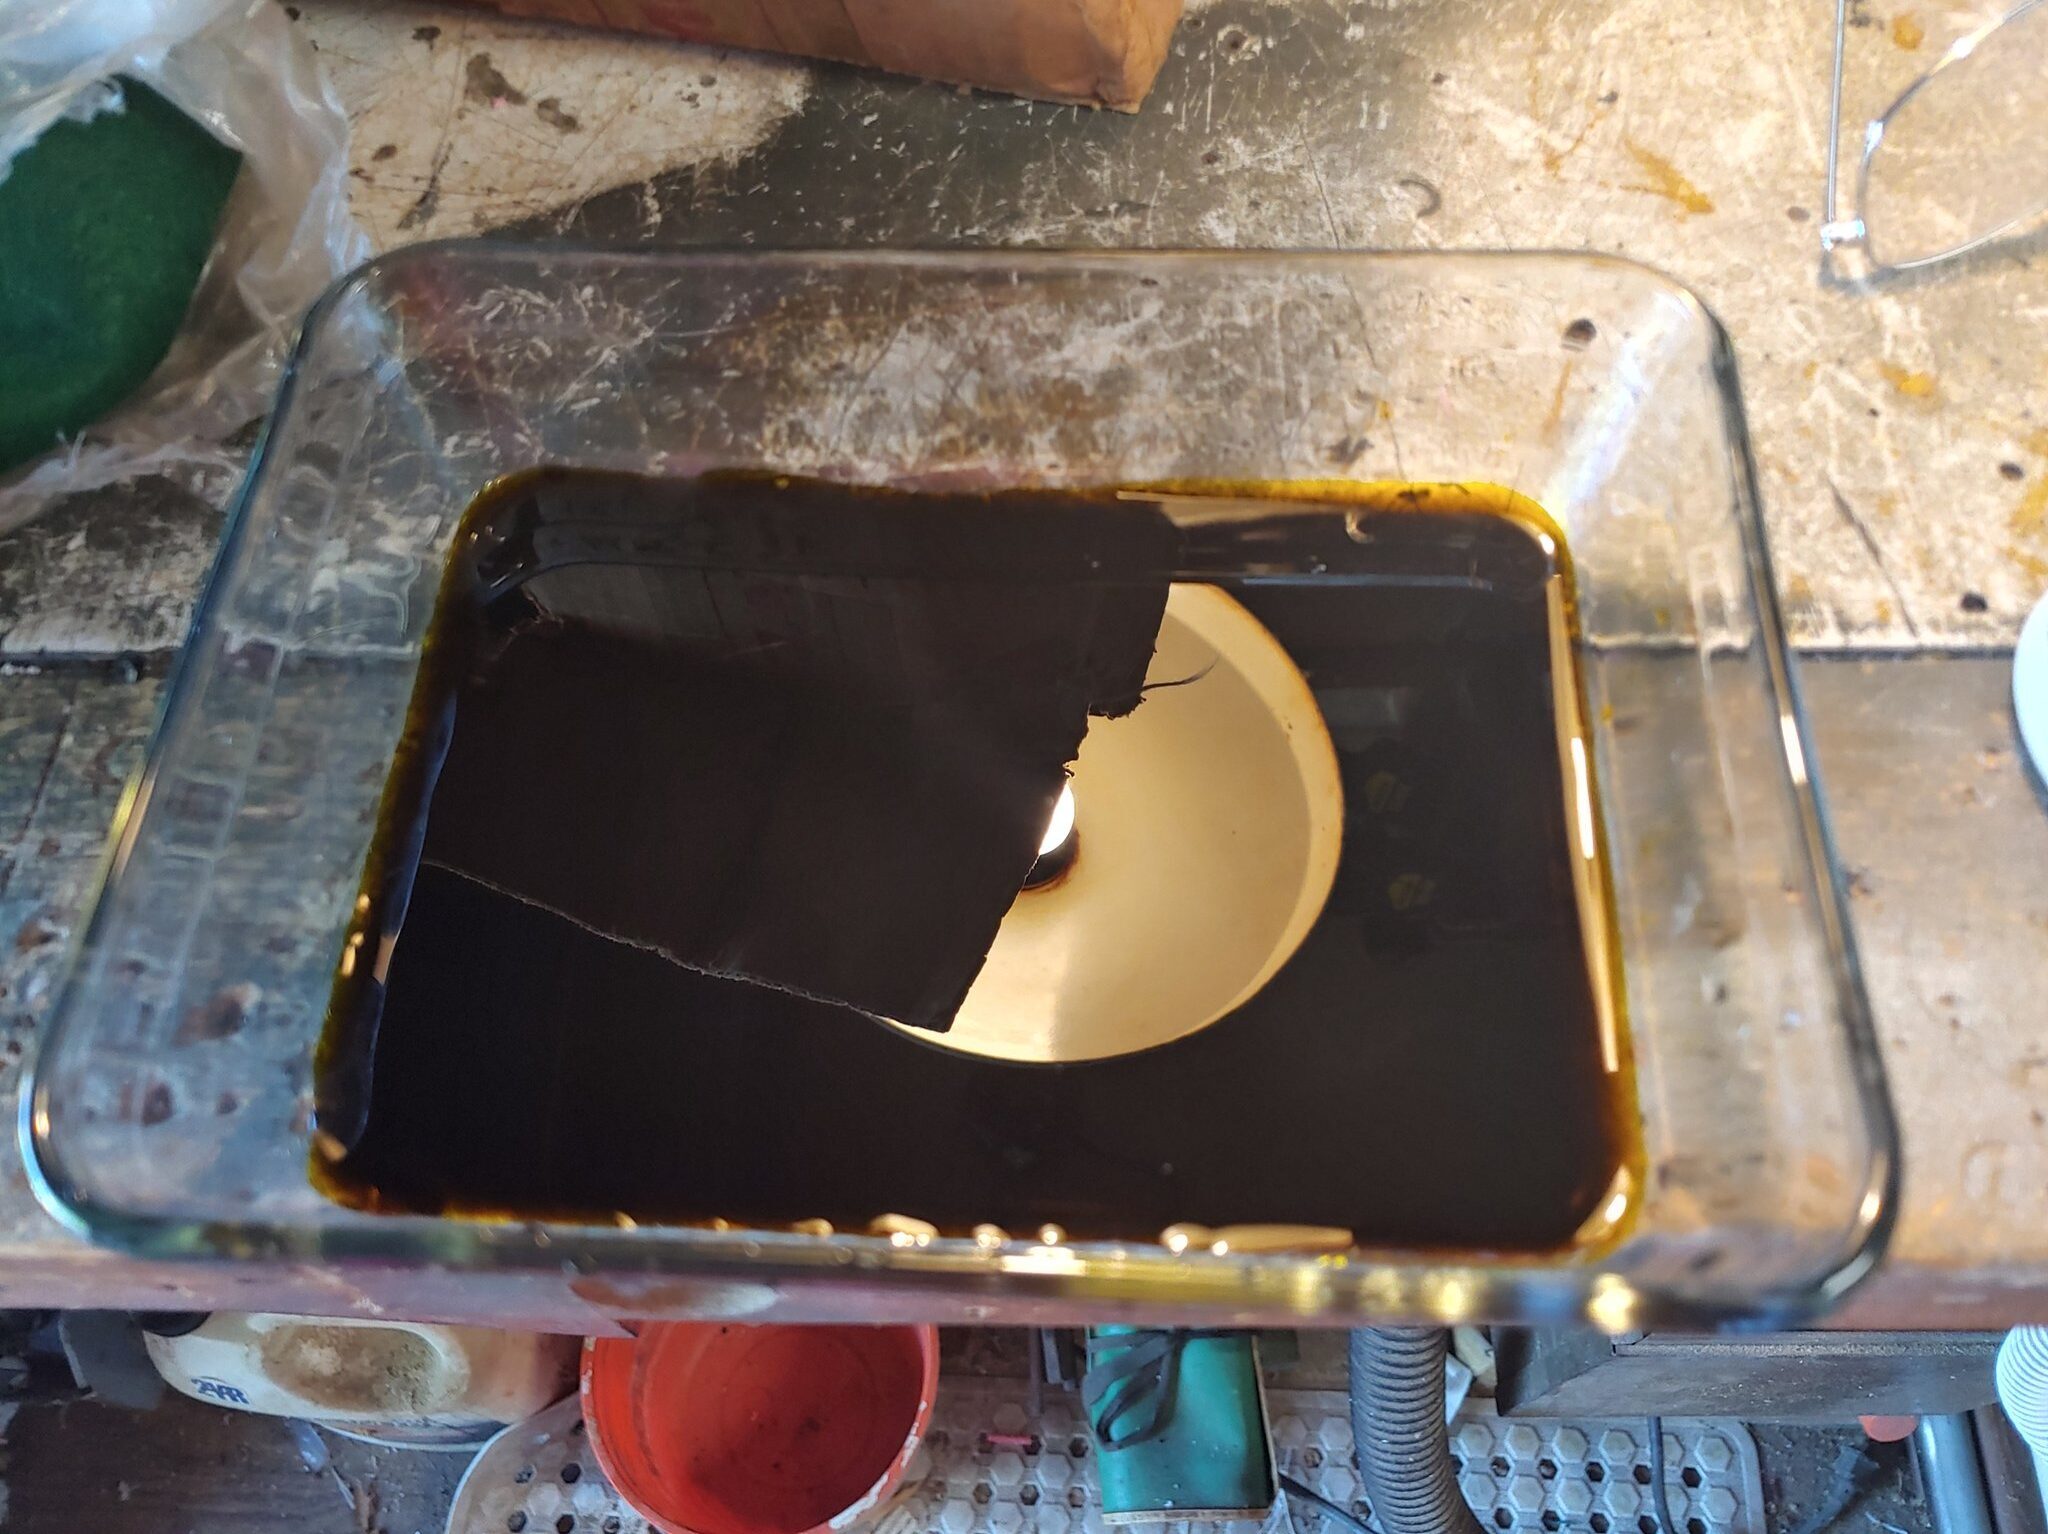
The acid can be purchased at the hardware store for cheap in large quantities. The peroxide is standard medical concentration and is widely available. Make sure to use a nonmetallic container. Glass or most plastics work. I’m using this upright vase so I can run an aquarium bubbler through the etchant to speed up the etch. This is optional but is a great quality of life improvement since you can put the boards in and set a timer instead of having to slosh the liquid back and forth for 5-30 minutes.
This is what the process looks like with a bubbler:
If you don’t have a bubbler, simply use a flat container large enough for your board and slosh back and forth until your desired results are achieved. It can take anywhere from 5-30 minutes so be patient.
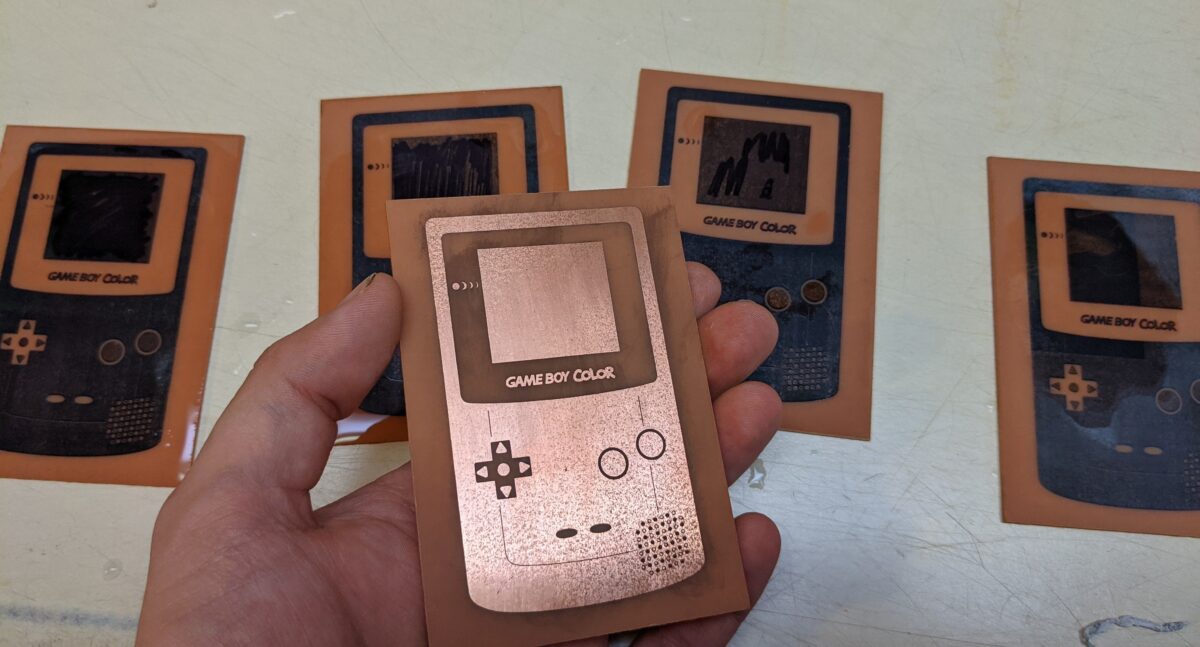
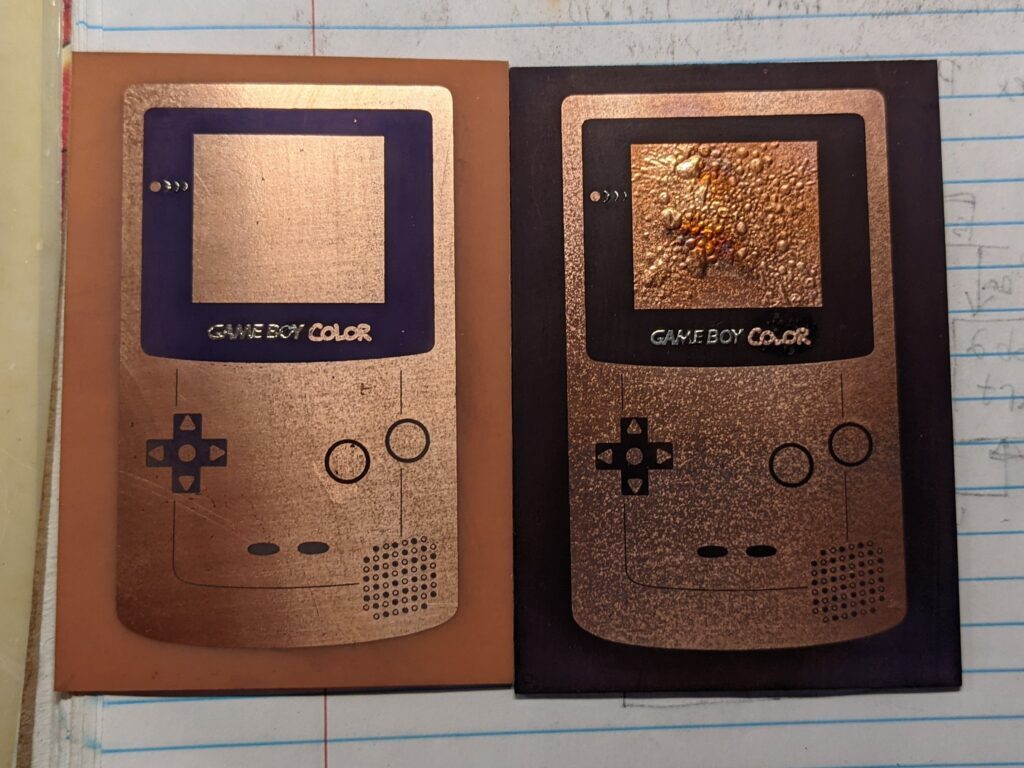
Your goal is to etch until there’s no visible copper. Hold the board up to the light to be sure. Once your satisfied with these results, rinse the board in lots of water to stop the etch. You can then remove the toner with acetone on a paper towel.

Other etchants include citric acid and ferric chloride. I stopped using ferric chloride because it stains everything it touches and can cause liver problems if absorbed through the skin. All of these etchants will rust your sink so make sure to run lots of water when cleaning tools or boards. Do not pour etchant down the drain it must be disposed of properly as hasmat waste however that is done in your area. They accept it at my local municipal dump no questions asked.
Dyeing the boards
Dyeing the boards is an optional step that can give you stunning results. I covered it in a previous post here: Dyeing PCBs At Home